
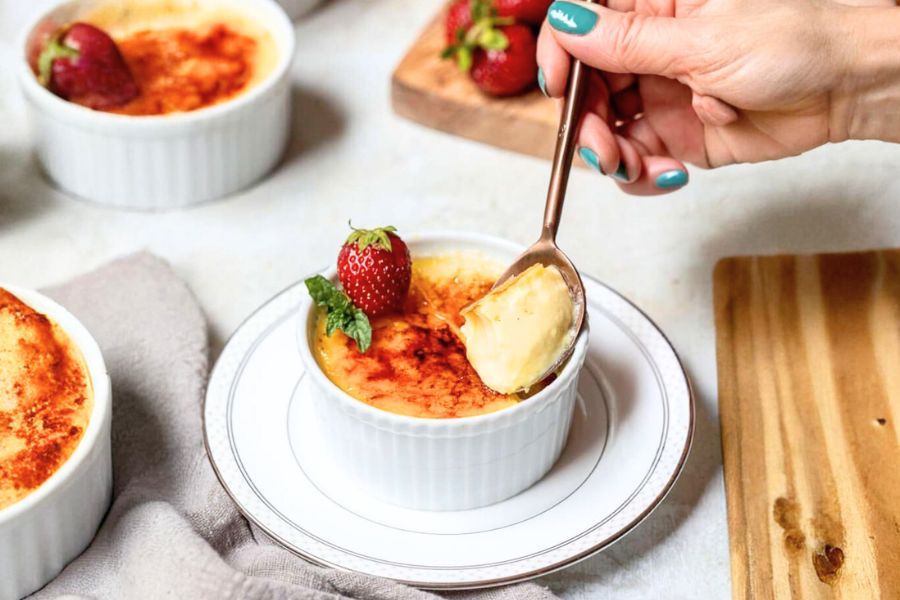
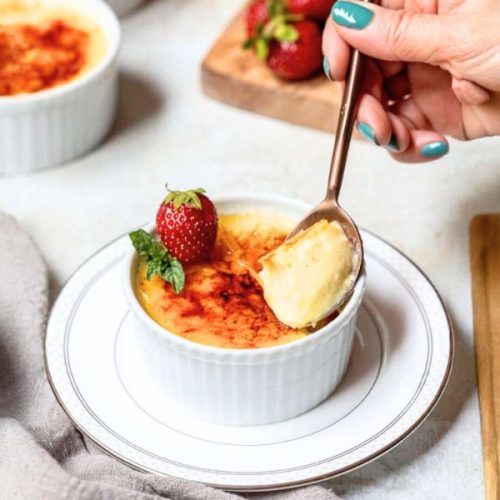
This Vanilla Bean Crème Brûlée recipe stands out for its luxurious balance of creamy custard and crisp caramelized sugar, delivering an indulgent yet approachable French dessert.
It’s an impressive treat that’s surprisingly easy to prepare, perfect for special occasions or everyday dessert cravings.
While rich in flavor and texture, it offers key nutritional highlights—such as a good protein boost from egg yolks and healthy fats from heavy cream—making it satisfying and energy-dense.
Although higher in fat, it provides essential nutrients like vitamin A and calcium, while being gluten-free and free from refined flour.
This recipe’s straightforward steps and use of accessible ingredients make it ideal for home cooks seeking elegance without complexity.

Plus, the slow, gentle cooking method ensures a silky smooth custard every time, while the caramelized sugar topping adds that signature crunchy finish, making it a crowd-pleaser that’s both classic and comforting.
Must-Have Tools for Perfect Results:
Measuring Cup with Spout
Perfect for whisking and pouring custard mixtures smoothly without spills. An indispensable tool for accuracy in cooking and baking, it simplifies liquid handling and portion control.
4 oz Ramekins (Set of 6)
These small, oven-safe dishes provide the perfect individual portions for crème brûlée, ensuring even cooking and elegant presentation. Beyond desserts, ramekins are versatile for soufflés, custards, and portioned appetizers.
Kitchen Torch
Essential for achieving the signature caramelized sugar crust with precision and control. A reliable torch elevates any dessert with professional-quality finishing touches and is great for roasting peppers or melting cheese.
9×13 Baking Dish
Used as a water bath to gently bake the custards, it ensures even heat distribution, preventing overcooking. This versatile pan is a staple for casseroles, roasting, and baking.
Creamy Crème Brûlée
Equipment
- 6 4 oz Ramekins
- Kitchen Torch
- 9 13 Baking Dish
- Measuring Cup with Spout
Ingredients
- 2 cups heavy cream
- ½ cup whole milk
- ½ cup granulated sugar 115 grams
- 1 whole vanilla bean
- 5 large egg yolks
- ¼ teaspoon kosher salt
- 12 teaspoons granulated sugar for caramelizing the tops
Instructions
- Preheat and Prepare Oven: Set your oven to 325°F (163°C) to ensure it reaches the ideal temperature while you prepare the custard.
- Infuse Cream with Vanilla: Pour the heavy cream and whole milk into a medium saucepan. Split the vanilla bean lengthwise and scrape out the seeds. Add both the seeds and the pod into the cream mixture. Stir in the ½ cup of sugar to sweeten.
- Heat Cream Mixture: Place the saucepan over medium heat and gently warm, whisking occasionally to dissolve the sugar. Once you see the cream steaming and small bubbles forming along the edges (about 5 minutes), remove from heat. Let it cool slightly for 2 minutes to prevent cooking the eggs in the next step.
- Whisk Egg Yolks: While the cream cools, vigorously whisk the egg yolks in a large measuring cup or bowl until they become smooth and slightly pale.
- Temper Eggs: Slowly pour a small amount of the warm cream mixture into the egg yolks while whisking constantly. This gradual mixing prevents the eggs from scrambling. Then, continue adding the rest of the cream mixture steadily, whisking until fully combined.
- Add Salt and Skim Foam: Stir in the kosher salt to enhance flavor. If you notice any foam on the surface, carefully remove it with a spoon to keep the custard silky and free from bubbles.
- Arrange Ramekins and Prepare Water Bath: Place six 4-ounce ramekins into a deep baking dish. Pour the custard evenly into each ramekin. Boil water in a kettle and then pour it around the ramekins in the baking dish, filling the water to about three-quarters up the sides of the ramekins. This water bath will gently cook the custard evenly.
- Bake Custards: Carefully place the baking dish in the oven. Bake for 30 to 35 minutes, checking for doneness by gently shaking the dish—the custards should be mostly set but still have a slight wobble in the center.
- Cool and Chill: Remove the ramekins from the water bath and transfer to a cooling rack. Allow to cool to room temperature before refrigerating them for at least 3 hours or up to 3 days for the flavors to fully develop.
- Caramelize Sugar Topping: When ready to serve, sprinkle 2 teaspoons of granulated sugar evenly over the top of each custard. Using a kitchen torch, carefully caramelize the sugar by moving the flame in small circles until the sugar melts and forms a crisp, golden crust.
- Serve or Store: Serve immediately for the best texture, or refrigerate for up to 1 hour before serving. Avoid longer refrigeration after torching, as the caramelized sugar can soften.
Notes
- Storage: Before caramelizing, custards can be covered tightly with plastic wrap and refrigerated for up to 3 days. Once torched, consume within 3 hours to maintain a crunchy topping.
- Ramekin Size: This recipe is designed for six 4-ounce servings. If using larger ramekins (6-8 oz), reduce the number of servings and monitor baking time carefully, as shallower custards cook faster.
- Water Bath Importance: The hot water surrounding the ramekins ensures slow, even cooking, preventing the custards from curdling or overbaking.
- Doneness Test: Custards are done when they have a gentle jiggle but are not liquid in the center. Overbaking results in a grainy texture.
- Torch Alternative: If you don’t have a kitchen torch, place the custards under a preheated broiler about 3-4 inches from the heat source. Watch closely to avoid burning or overheating the custard.
Chef’s Secrets for Perfect Crème Brûlée
Achieving the perfect crème brûlée starts with patience and attention to detail. One key secret is to gently warm the cream and milk mixture, allowing the vanilla bean to infuse fully without boiling.
This slow infusion maximizes flavor while preserving the delicate texture of the custard. When tempering the egg yolks, add the hot cream gradually to prevent scrambling, which ensures a smooth, silky custard.
The water bath is crucial—it creates a moist, controlled heat environment that cooks the custard evenly without curdling.
For the ideal texture, bake until the custard jiggles slightly in the center, then let it cool completely before chilling.
Finally, when caramelizing the sugar topping, keep the torch moving in small circles to evenly brown the sugar without burning it.
If you don’t have a torch, the broiler method works, but requires extra vigilance. These techniques combined guarantee a luxurious, classic dessert every time.
Serving Suggestions to Impress Guests
Crème brûlée shines as a standalone dessert, but pairing it thoughtfully elevates the experience.
Serve it with fresh berries like raspberries or blackberries, whose tartness contrasts beautifully with the custard’s richness.
A sprig of fresh mint adds a refreshing aroma and visual appeal. For an adult twist, consider a drizzle of berry coulis or a splash of Grand Marnier to complement the vanilla notes.
Lightly toasted almonds or crushed pistachios sprinkled atop the caramelized sugar add delightful texture and nutty flavor.
When serving at gatherings, present each ramekin on a small dessert plate with a demitasse spoon for a polished look.
This dessert’s elegant simplicity makes it perfect for dinner parties, romantic meals, or festive celebrations, ensuring your guests are impressed with minimal effort.
Storage Tips for Maintaining Quality
Proper storage is essential to preserve crème brûlée’s texture and flavor.
Before caramelizing the sugar, cover the ramekins tightly with plastic wrap and refrigerate for up to three days.
This allows the flavors to meld beautifully. However, after torching the sugar crust, it’s best to consume the custards within three hours to enjoy the crisp topping at its peak.
If you need to prepare in advance, wait to caramelize until just before serving.
Avoid freezing crème brûlée, as this can damage the custard’s creamy texture.
When reheating torched custards, do so briefly under a low broiler or with a kitchen torch, rather than using a microwave, which can cause curdling.
Following these guidelines will help maintain the perfect balance between creamy custard and crunchy topping.
Frequently Asked Questions Answered Clearly
1. Can I substitute vanilla extract for the vanilla bean?
Yes, you can use 1 to 2 teaspoons of high-quality vanilla extract if you don’t have a vanilla bean. However, the flavor will be less complex and aromatic compared to fresh vanilla seeds.
2. How do I know when the custard is perfectly cooked?
The custard is done when the edges are set but the center still jiggles slightly when gently shaken. It should not be liquid or overly firm. It will continue to set as it cools.
3. What can I use if I don’t have a kitchen torch?
You can caramelize the sugar under a broiler set 3 to 4 inches from the heat source. Watch carefully to prevent burning and avoid overheating the custard.
4. Can I prepare this recipe ahead of time?
Absolutely! You can make the custard and refrigerate it for up to three days before caramelizing the sugar topping. Just torch the sugar just before serving.
5. Why is a water bath necessary for baking?
The water bath provides gentle, even heat that prevents the custard from cooking too quickly or curdling. It creates a moist environment that ensures a silky texture.
This recipe has been adapted and simplified from the original version by vanillabeancuisine. We’ve refined the steps for a smoother cooking experience and added helpful notes, nutrition insights, and essential kitchen tools to make it even easier for home cooks.