
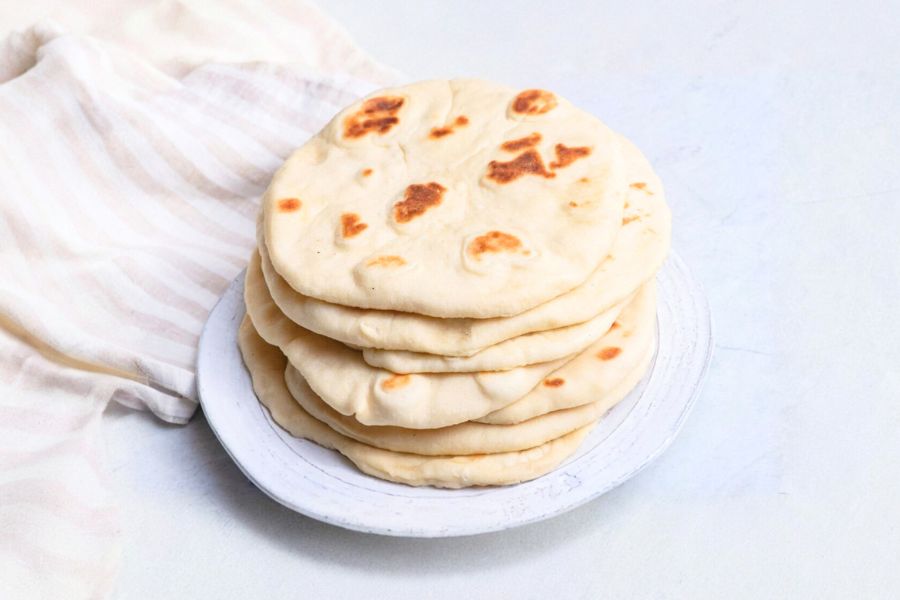
This Homemade Flatbread recipe shines for its simplicity and speed, making it perfect for everyday cooking.
Using just a handful of pantry staples—flour, yeast, water, olive oil, salt, and sugar—it yields soft, fluffy flatbreads ready in just over an hour.
The recipe’s reliance on instant yeast and quick skillet cooking means you can have fresh bread without the fuss of traditional baking.
Nutritionally, these flatbreads are a balanced choice: they offer moderate protein (6g per serving), fiber (2g), and healthy fats from olive oil while keeping saturated fat low.
This makes them a versatile base for meals, whether as wraps, dips, or alongside salads and proteins.
Plus, their make-ahead potential and freezer-friendly nature make them an excellent option for meal prep and reducing reliance on store-bought bread.
Must-Have Tools for Perfect Results
Stand Mixer
Effortlessly combines and kneads the dough to perfect consistency, saving time and reducing manual effort. A versatile kitchen workhorse ideal for baking, mixing, and whipping.
Rolling Pin
Essential for evenly flattening dough balls into consistent flatbread shapes, ensuring uniform cooking. Great for pastries, pizza dough, and more.
Cast Iron Skillet
Provides even heat distribution and a non-stick surface for perfectly cooked flatbreads with a golden crust. Durable and multipurpose for searing, sautéing, and frying.
Rimmed Baking Sheet
Offers a flat, sturdy surface to rest and proof dough balls evenly. Useful for baking cookies, roasting veggies, or organizing ingredients.

Quick Homemade Flatbread
Equipment
- 1 Stand Mixer
- 1 Rolling Pin
- 1 Cast Iron Skillet
- 1 Cast Iron Skillet1 Rimmed Baking Sheet
Ingredients
- Ingredients:
- 4 cups all-purpose flour plus extra for dusting
- 1 teaspoon granulated sugar
- 2 ¼ teaspoons instant dry yeast 1 standard packet
- 1 ½ cups warm water about 110°F
- 2 tablespoons olive oil plus additional for cooking and brushing
- 2 teaspoons fine salt
Instructions
- Combine the Ingredients and Knead the Dough: Begin by gathering all your ingredients. In the bowl of a stand mixer fitted with the dough hook attachment, add the all-purpose flour, granulated sugar, instant yeast, salt, warm water, and olive oil. Start mixing on a low speed to gently incorporate the ingredients, allowing the flour to absorb the water and yeast evenly. After about two minutes of slow mixing, increase the speed slightly to medium-low. Continue kneading the dough for about six minutes. You’ll notice the dough transforming into a smooth, elastic ball that pulls away cleanly from the sides of the bowl. This kneading process develops the gluten structure, essential for a tender yet chewy flatbread.
- First Rise — Proofing the Dough: Once kneaded, lightly grease your mixing bowl with a small amount of olive oil to prevent sticking. Transfer the dough back into the bowl and turn it gently so the entire surface is coated with oil. Cover the bowl loosely with a clean kitchen towel or plastic wrap. Place the bowl in a warm, draft-free area to allow the dough to rise. This first rise should last approximately 30 minutes, or until the dough has doubled in size. You’ll see the dough puff up and become airy, which is a sign that the yeast is active and the bread will have a light texture.
- Portion and Shape the Dough: After the dough has doubled, carefully remove it from the bowl and transfer it onto a lightly floured surface to prevent sticking. Using a bench scraper or knife, divide the dough into 10 equal portions. Take each portion and gently roll it into a smooth, round ball by tucking the edges underneath and rotating it under your palm. Once all the dough balls are shaped, lightly dust them with flour to prevent sticking. Arrange the balls on a rimmed baking sheet or tray, leaving a small gap between each. Cover the dough balls again with a kitchen towel, and allow them to rest and relax for 20 minutes. This resting period makes the dough easier to roll out.
- Preheat the Skillet and Prepare for Cooking: While the dough rests, place a cast iron skillet or a heavy non-stick pan over medium heat. Allow the skillet to heat thoroughly; this ensures an even cooking surface that will give the flatbreads a beautiful golden crust. Lightly brush the skillet with olive oil to prevent sticking and to add a subtle richness to the bread.
- Roll Out Each Dough Ball; Take one dough ball from the resting tray and place it on a clean, lightly floured work surface. Using a rolling pin, gently press and roll the dough into a thin, even circle approximately 7 to 8 inches in diameter. Avoid using too much flour during rolling to keep the dough soft and pliable. If the dough springs back or resists stretching, let it rest a few more minutes before continuing.
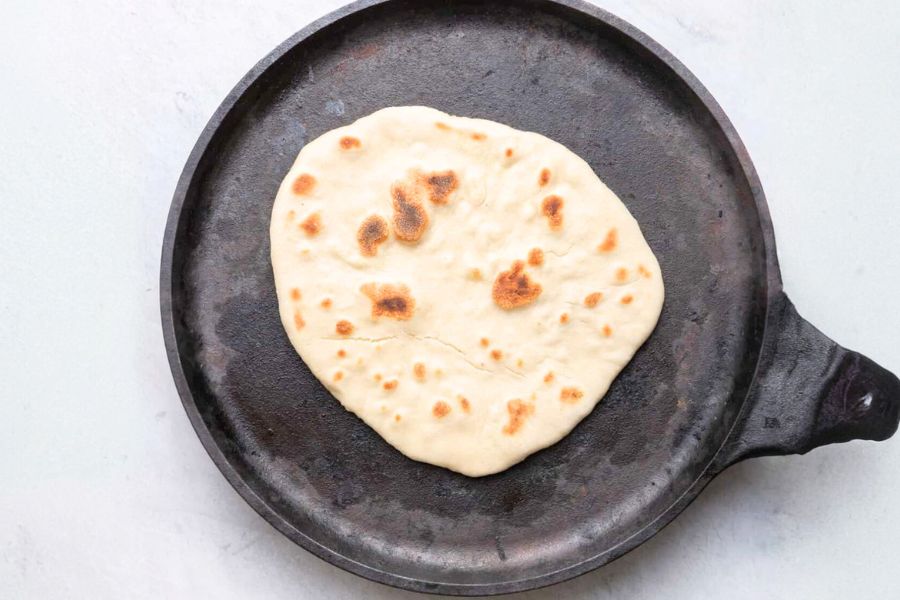
- Cook the Flatbread on the Skillet: Carefully transfer the rolled dough circle onto the preheated skillet. Cook the flatbread for about 2 minutes on the first side. You’ll observe bubbles forming on the surface, which indicates the bread is cooking through and developing air pockets for a light texture. Once bubbles cover most of the surface, flip the flatbread using tongs or a spatula. Cook the second side for an additional 2 minutes, or until the underside is golden brown and cooked through. Adjust the heat as needed to avoid burning.
- Keep Warm and Repeat: Remove the cooked flatbread from the skillet and place it on a clean plate or tray. Cover it loosely with a kitchen towel to retain warmth and softness. Repeat the rolling and cooking process with the remaining dough balls until all flatbreads are cooked.
- Serve and Enjoy: Your homemade flatbreads are now ready to be served! Enjoy them warm with your favorite dips, spreads, or as wraps filled with vegetables, meats, or cheeses. These flatbreads are versatile and make a great accompaniment to many meals or snacks
Notes
- Recipe Notes:
- Storage: Store your flatbreads tightly wrapped in plastic wrap or sealed in an airtight container. They will stay fresh for up to 7–10 days in the refrigerator or for 2–3 days if kept at room temperature.
- Freezing: For longer storage, freeze flatbreads wrapped securely in foil or placed inside a freezer-safe bag with air removed. Properly stored, they maintain quality for up to three months. To reheat, warm them in a preheated oven for a few minutes until soft and pliable.
- Tip: When rolling out dough, dust your work surface lightly to prevent sticking but avoid using too much flour, which can dry the dough. Use gentle pressure to keep the flatbreads soft and tender.
- Cooking: A cast iron skillet or heavy non-stick pan gives the best results, offering even heat for a perfect golden crust without burning.
Chef’s Secrets for Flawless Flatbread
Achieving perfectly soft and flavorful flatbread every time comes down to a few key secrets. First, use warm—not hot—water when activating the yeast to ensure it blooms properly without killing the yeast cells.
Knead the dough long enough to develop gluten, which gives your bread the ideal chewiness.
Don’t rush the resting periods: allowing the dough to rise and then rest after shaping helps relax the gluten, making the dough easier to roll and resulting in tender flatbreads.
When rolling, avoid using too much flour, which can dry out the dough; instead, lightly dust your surface and rolling pin.
Cooking on a well-heated cast iron skillet gives the best crust and texture, so give your pan enough time to get hot before adding the dough.
Lastly, cover cooked flatbreads with a clean towel to keep them warm and soft while you finish cooking the batch.
Serving Suggestions to Elevate Flatbread
Homemade flatbread is wonderfully versatile and pairs beautifully with a variety of dishes.
For a quick snack, serve warm flatbreads alongside hummus, tzatziki, or baba ganoush for dipping.
Turn them into wraps by filling with grilled chicken, fresh veggies, and your favorite sauces.
They also work well as a side for soups, stews, or curries, soaking up flavorful broths.
For a fun twist, brush them lightly with garlic-infused olive oil and sprinkle with herbs like rosemary or za’atar before serving.
You can even transform flatbread into mini pizzas by adding tomato sauce, cheese, and toppings, then warming briefly in the oven.
These ideas make the flatbread not just a side, but a centerpiece that adds satisfying texture and flavor to your meals.
Storage Tips for Fresh Flatbread
To keep your flatbreads fresh and soft, store them properly.
Wrap completely cooled flatbreads tightly in plastic wrap or place in a zip-top bag, squeezing out as much air as possible before sealing.
Refrigerated flatbreads remain good for up to 7–10 days, but if you plan to keep them longer, freezing is your best bet.
When freezing, wrap individual flatbreads in foil or plastic wrap before placing them in an airtight freezer bag to prevent freezer burn.
To thaw, simply leave them at room temperature or warm them directly in a skillet or oven for a few minutes.
Avoid stacking hot flatbreads without a barrier, as this can cause them to become soggy. Proper storage helps maintain their soft texture and flavor for later enjoyment.
Frequently Asked Questions Answered Clearly
Q1: Can I use active dry yeast instead of instant yeast?
Yes! If using active dry yeast, dissolve it in warm water and sugar first, letting it sit for 5–10 minutes until foamy before mixing with the other ingredients. Instant yeast can be added directly to the flour without proofing.
Q2: Can I substitute whole wheat flour?
You can substitute up to half of the all-purpose flour with whole wheat flour for a nuttier flavor and higher fiber content. Keep in mind the dough may be slightly denser and require a bit more water.
Q3: How do I know when the dough has risen enough?
The dough should roughly double in size during the proofing stage. It will look puffed and feel airy when gently pressed—if the indentation springs back slowly, it’s ready.
Q4: Can I make flatbread without a stand mixer?
Absolutely! You can knead the dough by hand on a floured surface for about 10 minutes until smooth and elastic, then proceed with rising and shaping as directed.
Q5: What if my flatbread cooks too quickly or burns?
Adjust your stove temperature slightly lower if the bread browns too fast before cooking through. A medium heat is ideal—too high causes burning, too low results in undercooked dough.
This recipe has been adapted and simplified from the original version by feelgoodfoodie. We’ve refined the steps for a smoother cooking experience and added helpful notes, nutrition insights, and essential kitchen tools to make it even easier for home cooks.