
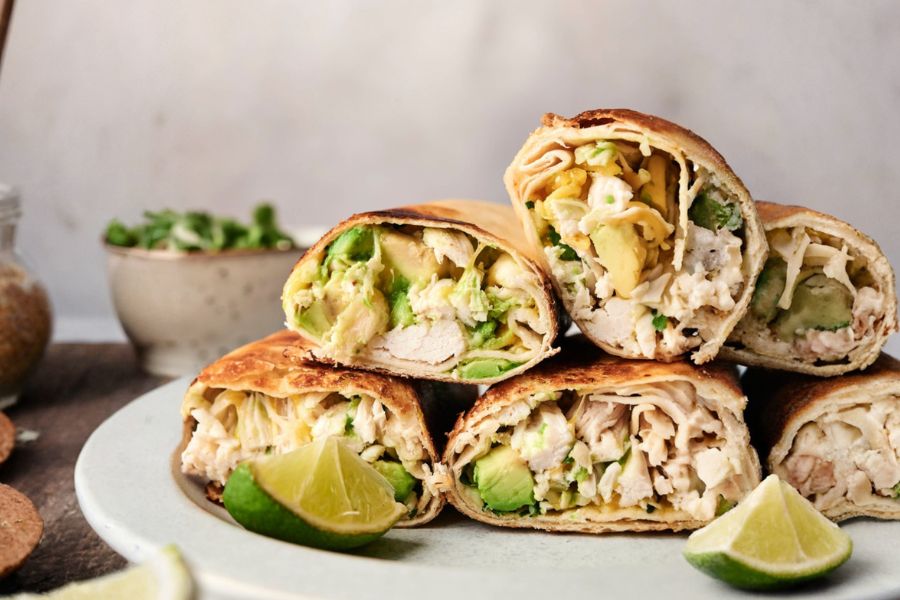
Chicken Avocado Wraps strike the perfect balance between comfort and nourishment.
The creamy avocado pairs beautifully with tender chicken and melted cheese, creating a satisfying wrap that feels indulgent but is actually packed with nutrients.
This recipe delivers a high-protein meal thanks to the chicken, while avocado adds heart-healthy fats and fiber.
Because it uses simple, fresh ingredients, it’s naturally lower in carbs than most sandwiches or wraps.
It’s also customizable and quick — ideal for busy weeknights, easy lunches, or meal prep.
Whether you’re aiming to eat healthier or just want a warm, melty wrap in under 15 minutes, this recipe checks all the boxes.
Must-Have Tools for Perfect Results
Nonstick Skillet or Griddle
Ensures the wraps get that golden, crispy exterior without sticking. This pan is a staple for everything from quesadillas to breakfast eggs.
Chef’s Knife
Essential for slicing avocado and chopping cilantro cleanly and safely. A sharp, versatile knife saves time and effort in everyday prep.
Mixing Bowl
Perfect for combining the filling ingredients evenly. A quality mixing bowl is a foundational tool for salads, batters, and marinades.
Cutting Board
Provides a sturdy, clean surface for prepping chicken, avocado, and herbs. It’s indispensable for meal prep and keeps your counters protected.
Silicone Spatula or Tongs
Helps flip the wraps smoothly without tearing them. Great for turning pancakes, tortillas, or stir-fry ingredients with precision.
10-Minute Chicken Avocado Wraps
Equipment
- 1 Mixing Bowl
- 1 Nonstick Skillet or Griddle
- 1 Chef’s Knife
- 1 Cutting Board
- 1 Spatula or Tongs
Ingredients
- 2 cups cooked chicken shredded or diced
- 1 ripe avocado diced or sliced
- ½ cup shredded cheddar or mozzarella cheese
- ¼ cup sour cream mayonnaise, or preferred sauce
- 2 tablespoons chopped cilantro
- 1 tablespoon lime or lemon juice
- 4 large tortillas
- 1 teaspoon cooking oil
Instructions
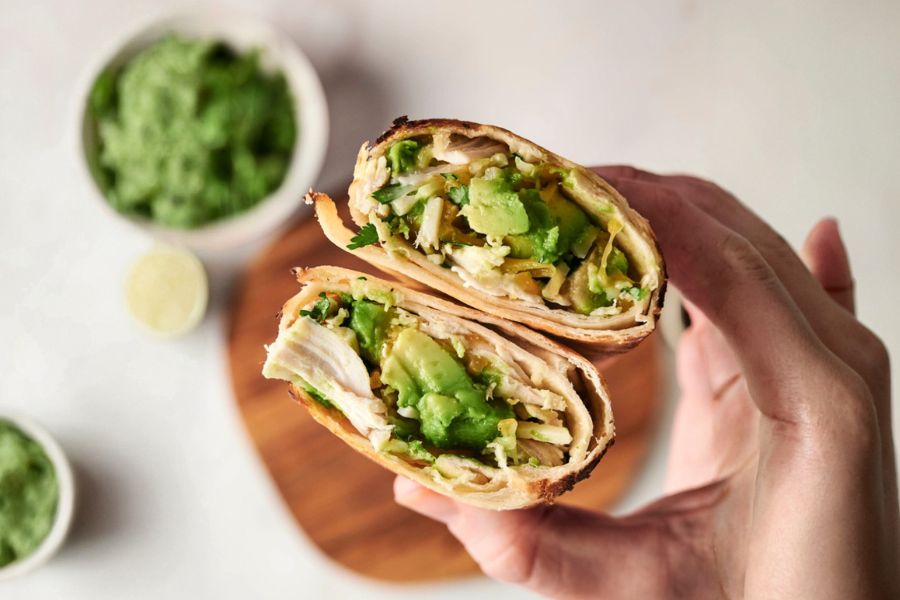
- Prep the Filling Mixture: In a large mixing bowl, combine the cooked chicken, diced avocado, shredded cheese, sour cream or mayo, chopped cilantro, and lime juice. Use a spoon or spatula to gently fold everything together until evenly coated, being careful not to mash the avocado too much. This creamy, flavorful mixture should look chunky and well-mixed with bits of green and melted cheese throughout.
- Assemble the Wraps: Lay one tortilla flat on a clean cutting board or countertop. Spoon a generous portion of the chicken-avocado filling into the center of the tortilla, forming a horizontal line slightly below the middle. Fold in the sides, then roll the tortilla tightly from the bottom up to create a firm, closed wrap that holds its shape.
- Repeat and Prepare for Cooking: Continue the assembling process for the remaining tortillas, ensuring each one is tightly wrapped so the filling doesn’t spill out while cooking. Place the completed wraps seam-side down on a plate or tray. This helps keep them closed and makes them easier to flip once in the pan.
- Heat and Oil the Pan: Place a nonstick skillet or griddle over medium-high heat and allow it to warm up for about a minute. Add the teaspoon of oil and swirl to coat the entire surface evenly — this prevents sticking and helps the outside of each wrap turn crispy and golden. You should hear a very light sizzle when the first wrap hits the pan.
- Toast the Wraps Until Golden: Set the wraps seam-side down in the hot pan, cooking them in batches if necessary so the pan isn’t overcrowded. Let them toast for 1–2 minutes without moving them, until the underside is beautifully golden and crisp. Carefully flip each wrap using tongs or a spatula and cook the second side for another minute, or until evenly browned and heated through.
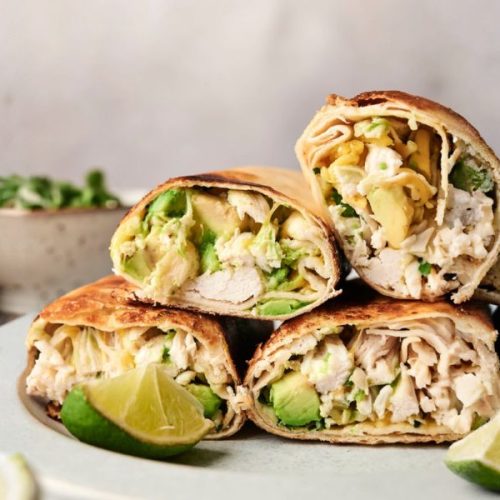
- Serve Warm and Enjoy: Transfer the toasted wraps to a serving plate and let them rest for a moment so the cheese finishes melting inside. Slice them in half if desired to show the vibrant filling and make them easier to eat. Serve immediately while hot and crispy, and enjoy with your favorite salsa, extra lime wedges, or dipping sauce on the side.
Notes
- Use rotisserie chicken for faster prep and stronger flavor.
- Add a pinch of chili flakes if you like a touch of spice.
- Greek yogurt can replace sour cream for a lighter, protein-rich option.
- Flour tortillas tend to crisp better than corn in pan-toasting.
- Avoid overfilling the wraps to keep them from tearing while rolling.
Chef’s Secrets for Best Results
To get that signature golden crunch, make sure your pan is hot enough before adding the wraps — a slight sizzle is a good sign.
For extra flavor, toss the chicken with a dash of taco seasoning or garlic powder before mixing with other ingredients.
Always roll the tortillas tightly to keep the filling from spilling, and place them seam-side down first so they seal shut while toasting.
Don’t rush the process; even 60 extra seconds in the skillet can significantly enhance the texture and melt the cheese perfectly.
Tasty Serving Suggestions to Try
These wraps pair wonderfully with a fresh pico de gallo, corn salad, or a simple mixed greens side salad.
For a heartier meal, serve with roasted veggies or a cup of soup, such as tomato or tortilla soup.
If you’re entertaining or packing lunchboxes, slice each wrap in half diagonally and serve with salsa, guacamole, or a creamy chipotle dipping sauce.
They also work well alongside sweet potato fries or even served chilled as a quick picnic wrap.
Smart Storage Tips for Leftovers
If you plan to store wraps for later, it’s best to keep the filling and tortillas separate until you’re ready to assemble.
Store the filling in an airtight container in the refrigerator for up to 2-3 days.
If the wraps are already assembled and cooked, let them cool fully, then wrap each in foil or parchment paper and store in a container.
Reheat in a skillet or toaster oven to restore crispness — microwaving is less ideal as it can make the tortillas soggy.
Frequently Asked Questions About Recipe
Q1: Can I use canned chicken instead of cooked chicken?
Absolutely — canned chicken works in a pinch. Just be sure to drain it well and season it to your liking before mixing with the avocado and other ingredients for better flavor.
Q2: Can I make these dairy-free?
Yes. Simply omit the cheese or use a dairy-free shredded cheese, and substitute the sour cream or mayo with a vegan alternative like cashew crema or vegan mayo.
Q3: How do I keep the avocado from browning?
Tossing the avocado with lime or lemon juice helps prevent oxidation. If preparing in advance, store the filling with plastic wrap pressed directly on top to minimize air exposure.
Q4: Can I bake these instead of pan-toasting?
Yes, you can bake them at 400°F (200°C) for 10–12 minutes, flipping halfway. They’ll still crisp up, though the stovetop method gives a slightly more golden exterior.
Q5: Are these good for meal prep?
Definitely. Prepare the filling ahead of time and refrigerate. Assemble and toast the wraps fresh for a quick lunch or dinner throughout the week.
This recipe has been adapted and simplified from the original version by gimmedelicious. We’ve refined the steps for a smoother cooking experience and added helpful notes, nutrition insights, and essential kitchen tools to make it even easier for home cooks.