
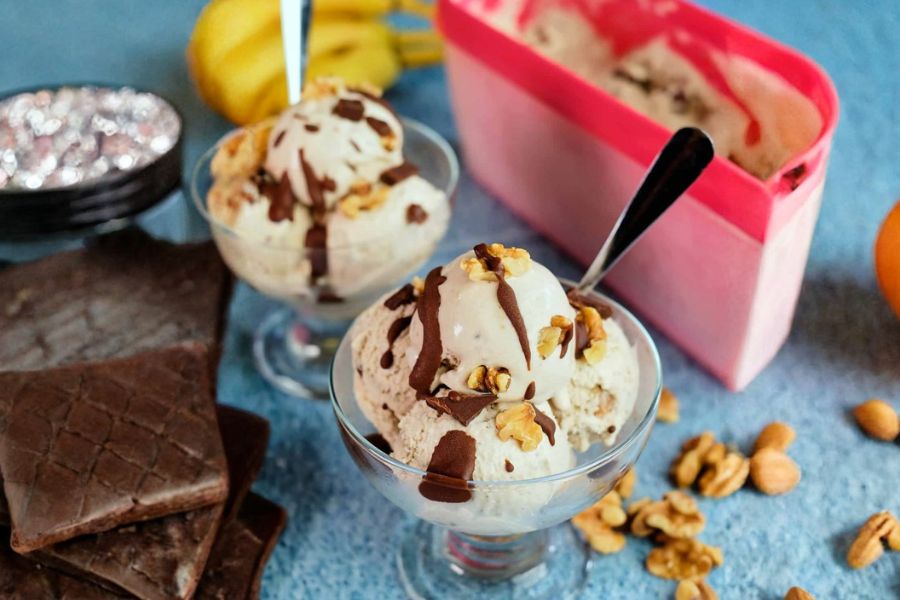
This Chunky Banana Nut Ice Cream transforms the classic “Chunky Monkey” into a lighter yet indulgent dessert that’s creamy, naturally sweet, and packed with wholesome ingredients.
Bananas provide natural sweetness along with potassium and fiber, while walnuts add satisfying crunch, heart-healthy omega-3 fats, and plant-based protein.
Using less cream keeps it rich without excessive saturated fat, making it a more balanced treat for everyday indulgence.
The combination of bananas, nuts, and chocolate ensures a deeply satisfying flavor and texture experience, while the simple, step-by-step preparation allows for effortless homemade results.
Whether for a summer treat, family dessert, or meal-prep-friendly frozen snack, this recipe delivers luxurious ice cream without relying on heavy, overly processed ingredients.
Must-Have Tools for Perfect Results
Vitamix Blender
Essential for creating ultra-smooth banana and walnut milk. Its high-speed power effortlessly breaks down nuts for a creamy, lump-free texture, and it doubles as a versatile tool for smoothies, soups, and sauces in your kitchen.
Ice Cream Maker
Key for churning the mixture to the perfect creamy consistency while incorporating air and preventing ice crystals. It’s a must-have for anyone who loves homemade frozen desserts.
Saucepan
Used to cook the custard base, ensuring the cornstarch thickens evenly without burning. A reliable, heavy-bottomed saucepan is invaluable for sauces, puddings, and other stovetop recipes.
Ice Cream Container
For storing your finished ice cream while maintaining optimal texture and freshness. Airtight containers prevent freezer burn and make layering or serving convenient.
Cheesecloth or Nut Milk Bag
Perfect for straining blended walnuts to achieve smooth, creamy nut milk. It’s a reusable tool for nut milks, homemade juices, and other fine straining tasks.
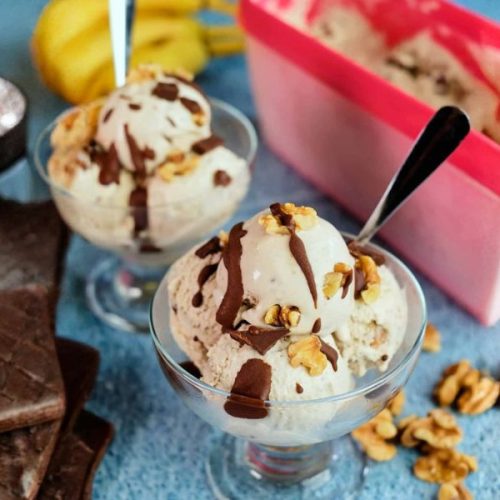
Healthy Banana Nut Ice Cream
Equipment
- 1 Ice Cream Maker
- 1 Vitamix Blender (or high-speed blender)
- 1 Saucepan (medium size)
- 1 Ice Cream Container (for storage)
- 1 Cheesecloth or Nut Milk Bag
Ingredients
Banana Ice Cream:
- 2 cups whole milk
- 1½ cups walnuts chopped
- ½ cup honey or sugar
- 1½ tablespoons cornstarch
- ¼ teaspoon salt
- 3 large ripe bananas
- 1 cup heavy cream
- 1 tablespoon natural vanilla extract
- 2 oz semi-sweet chocolate chopped
Chocolate Swirl (Optional):
- 2 oz semi-sweet chocolate
- 2 tablespoons heavy cream optional
- 1 teaspoon light olive oil neutral tasting
- 1 teaspoon instant coffee powder
Instructions
- Prepare Walnut Milk: Place 1 cup of chopped walnuts and 1 cup of whole milk into a high-speed blender, like a Vitamix. Blend on high until the mixture becomes completely smooth and creamy, scraping down the sides as needed. Pour the blended mixture through a double-layered cheesecloth or nut milk bag, stirring occasionally to help the liquid pass through while separating the solids.
- Blend Banana-Walnut Base: Return the strained walnut milk to the blender, add the peeled, ripe bananas, and blend on high until the mixture is silky smooth and free of lumps. This forms the creamy base that will carry both natural sweetness and flavor throughout the ice cream. Set aside while preparing the custard.
- Dissolve Cornstarch: In a small bowl, combine the cornstarch with ¼ cup of milk and whisk until completely dissolved with no lumps remaining. This mixture will act as a thickening agent for the custard, ensuring a smooth, creamy texture without clumps.
- Cook Custard Base: Pour the remaining 1 cup of milk and honey (or sugar) into a medium saucepan and heat over medium-high heat until it just begins to boil. Reduce the heat to low, slowly whisk in the cornstarch mixture, and stir constantly until it thickens to a custard consistency that lightly coats the back of a spoon. Remove the pan from heat and place it over an ice bath to cool slightly.
- Combine Custard and Banana-Walnut Mix: Once the custard has cooled slightly, stir in the banana-walnut mixture, heavy cream, vanilla extract, and salt until fully combined. Ensure the mixture is smooth and homogenous for a perfectly creamy ice cream base.
- Chill Ice Cream Base: Transfer the combined mixture into the refrigerator for several hours or overnight, or alternatively, place it over an ice bath for faster cooling. Chilling thoroughly ensures the ice cream churns evenly and develops the best texture.
- Churn Ice Cream: Pour the chilled mixture into your ice cream maker and churn according to the manufacturer’s instructions until it begins to thicken. When the ice cream is nearly set, fold in the chopped walnuts and chocolate chunks evenly to create the signature “chunky” texture.
- Optional Chocolate Swirl: In a small saucepan or microwave-safe bowl, melt the chocolate with heavy cream, olive oil, and instant coffee powder if using, stirring until smooth. Gently swirl into the ice cream before final freezing for added chocolate flavor and marbled effect.
- Freeze for Serving: Transfer the churned ice cream into an airtight container, smoothing the top with a spatula, and press a piece of parchment paper on the surface to prevent ice crystals. Freeze for at least 2–4 hours, or until fully firm, before scooping and serving.
Notes
- Use fully ripe bananas for maximum natural sweetness and creamy texture.
- For smoother walnut milk, blend walnuts longer and strain carefully to remove all solids.
- Honey can be substituted with sugar or maple syrup, but avoid strong-flavored varieties.
- Churn the ice cream only after the base is thoroughly chilled for optimal texture.
- Fold in chocolate and walnuts near the end of churning to prevent them from sinking.
- Optional chocolate swirl adds visual appeal and enhances flavor, but can be omitted for a lighter version.
- Store ice cream in the freezer door for slightly softer, scoopable consistency.
Chef’s Secrets For Creamy Texture
The secret to perfectly creamy banana nut ice cream lies in the walnut milk and custard base.
Blending the walnuts with milk until ultra-smooth ensures a rich, nutty flavor throughout.
Chilling the base thoroughly before churning prevents ice crystals from forming, giving a silky, scoopable texture.
Folding in the chocolate and walnuts at the very end preserves the chunky, indulgent feel without weighing down the ice cream.
Using ripe bananas also boosts natural sweetness, reducing the need for added sugar while delivering a smooth, luscious base.
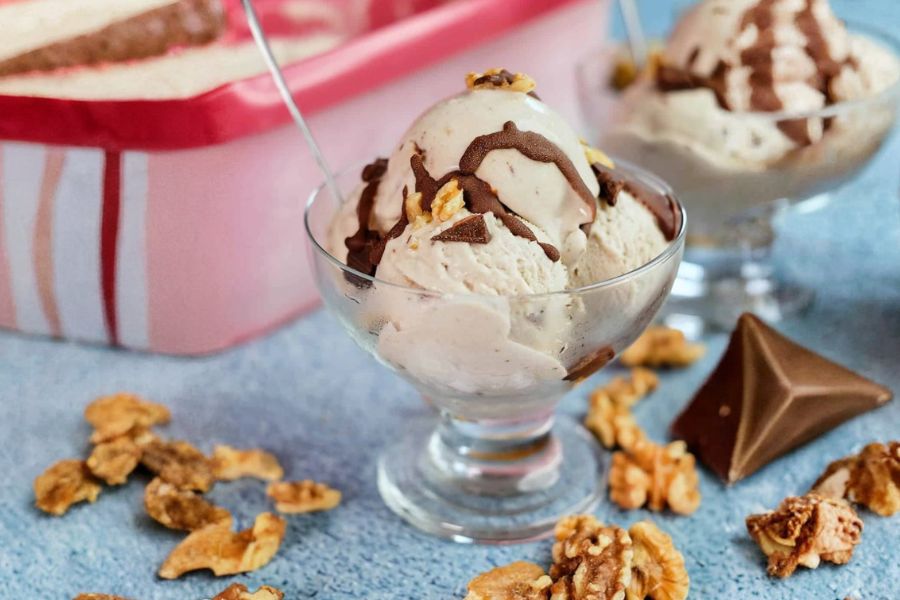
Serving Suggestions To Impress Guests
This ice cream is perfect served in a chilled bowl, topped with extra chopped walnuts, banana slices, or a drizzle of chocolate sauce.
For a decadent twist, layer it in a parfait glass with crushed cookies or caramel sauce.
It pairs wonderfully with fresh fruit, waffles, or warm desserts like brownies.
You can also scoop it onto a slice of banana bread for a creative dessert presentation.
For gatherings, consider serving in small cups with mini chocolate chunks sprinkled on top—it’s visually appealing and irresistibly tasty.
Storage Tips To Maintain Freshness
Store the ice cream in an airtight container with a layer of parchment paper pressed directly on the surface to prevent ice crystals.
Keeping it in the freezer door rather than the coldest part helps maintain a soft, scoopable texture.
Leftovers can safely last up to 2–3 weeks, but the flavor is best within the first week.
For a softer scoop, allow the ice cream to sit at room temperature for 5–10 minutes before serving.
Always use a clean, dry scoop to avoid introducing moisture that can cause freezer burn.
Frequently Asked Questions And Answers
1. Can I make this dairy-free?
Yes! Replace whole milk and heavy cream with unsweetened almond milk, cashew cream, or coconut cream. The texture may be slightly lighter, but the flavor will remain rich and nutty.
2. Can I skip the chocolate chunks?
Absolutely. The chocolate adds texture and flavor, but the banana-walnut base alone is creamy and flavorful. You can also substitute with dark chocolate, cacao nibs, or white chocolate.
3. How do I prevent ice crystals from forming?
Chill the ice cream base thoroughly before churning and press parchment paper directly on the surface when freezing. Using an airtight container and storing in the freezer door helps maintain smooth texture.
4. Can I make this ahead of time?
Yes! The base can be prepared a day in advance and stored in the refrigerator. Once chilled, churn in your ice cream maker and add mix-ins for freshly made ice cream anytime.
5. Can I adjust sweetness for diet preferences?
Definitely. Use less honey or sugar, or substitute with natural sweeteners like maple syrup or stevia. Ripe bananas contribute natural sweetness, so the recipe remains creamy and flavorful even with reduced sugar.
This recipe has been adapted and simplified from the original version by thedeliciouscrescent. We’ve refined the steps for a smoother cooking experience and added helpful notes, nutrition insights, and essential kitchen tools to make it even easier for home cooks.