
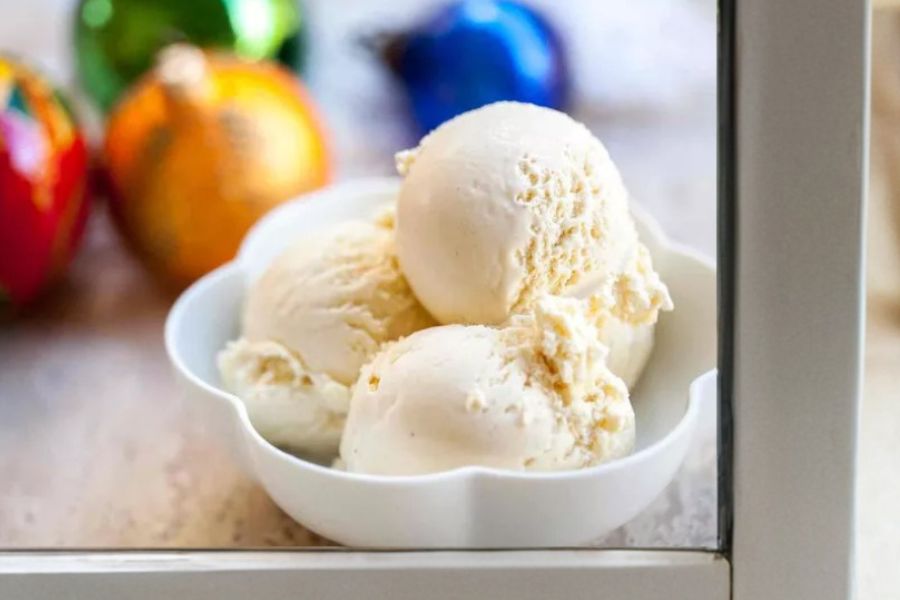
Eggnog Ice Cream transforms the classic holiday drink into a rich, creamy frozen dessert that’s both indulgent and festive.
Infused with warm spices like cinnamon, nutmeg, and cloves, this recipe offers a comforting aroma and flavor that evokes holiday cheer.
The combination of milk, cream, and egg yolks delivers a protein-rich, calcium-packed treat, while the optional addition of rum, bourbon, or brandy helps maintain smoothness without compromising taste.
Despite its luxurious texture, the recipe is approachable for home cooks, requiring simple steps and mostly passive chilling, making it a perfect make-ahead dessert.
Its versatility allows it to be enjoyed on its own or paired with holiday desserts, making it an everyday-friendly indulgence for family gatherings, meal prep, or celebratory occasions.
Must-Have Tools for Perfect Results
Heavy Saucepan
Essential for gently heating the milk and cream with spices, ensuring even infusion without scorching. A versatile piece for sauces, custards, and soups.
Metal Mixing Bowl with Ice Bath
Used to cool the custard quickly, stopping the cooking process for perfect texture. Ideal for tempering eggs, making ganache, or chilling dough.
Fine Mesh Strainer
Strains the custard to remove spices and ensure a silky smooth ice cream base. Also useful for sifting flour, straining sauces, or making smooth purees.
Whisk
Key for blending egg yolks into the warm cream without curdling. Works in countless kitchen tasks, from mixing batters to whipping cream.
Ice Cream Maker
Churns the custard into creamy ice cream with perfect texture. Beyond this recipe, it can make gelato, frozen yogurt, and sorbets at home.
Creamy Eggnog Ice Cream
Equipment
- 1 Heavy Saucepan (2-quart)
- 1 Metal Mixing Bowl with Ice Bath
- 1 fine mesh strainer
- 1 Whisk
- 1 Ice Cream Maker
Ingredients
- 2 cups heavy whipping cream
- 1 cup milk
- 4 whole cloves
- 1 teaspoon grated nutmeg
- ¼ teaspoon ground cinnamon
- Pinch of salt
- 2/3 cup granulated sugar
- 6 large egg yolks
- 1 teaspoon vanilla extract
- 2 tablespoons rum bourbon, or brandy (optional)
Instructions
- Infuse Spices into Cream and Milk: In a 2-quart heavy saucepan, combine 1 cup of milk and 1 cup of heavy cream with the whole cloves, grated nutmeg, ground cinnamon, and a pinch of salt. Heat over medium until the mixture becomes steamy but not boiling, stirring occasionally to prevent scorching. Once warm, cover the saucepan and let the spices steep for at least 30 minutes, allowing the flavors to deeply infuse.
- Dissolve Sugar into Warm Mixture: After steeping, remove the cloves from the cream and milk mixture. Gradually stir in the granulated sugar until fully dissolved, ensuring the base is smooth and evenly sweetened without any graininess. This creates the sweet, spiced foundation for your ice cream custard.
- Prepare Ice Bath with Remaining Cream: Pour the remaining 1 cup of heavy cream into a metal mixing bowl, then place that bowl over a larger bowl filled with ice water to create an ice bath. Set a fine mesh strainer over the top of the chilled cream; this will be used later to quickly cool the custard and prevent overcooking while ensuring a silky texture.
- Temper Egg Yolks with Warm Cream: In a medium bowl, whisk the 6 egg yolks until smooth. Slowly pour about half of the warm spiced cream into the egg yolks while whisking constantly, gently raising their temperature without scrambling. This careful tempering prevents curdling and ensures a creamy custard base.
- Combine and Cook Custard Base: Pour the tempered egg yolk mixture back into the saucepan with the remaining warm cream. Return to medium heat and stir constantly with a wooden spoon, scraping the bottom of the pan as it thickens. Continue cooking for about 10 minutes until the mixture coats the back of the spoon, forming a velvety custard.
- Chill Custard in Ice Bath: Immediately pour the hot custard through the fine mesh strainer over the prepared ice bath with remaining cream. Stir gently to rapidly cool the mixture, halting the cooking process and ensuring a smooth texture. Once cooled, transfer to the refrigerator and chill thoroughly for at least 2 hours or until cold.
- Add Flavoring and Alcohol (Optional): Once the custard is fully chilled, stir in 1 teaspoon of vanilla extract and, if desired, 2 tablespoons of rum, bourbon, or brandy. The alcohol not only adds flavor but also helps maintain a soft, scoopable texture when stored longer in the freezer.
- Churn in Ice Cream Maker: Pour the chilled custard into your ice cream maker and churn according to the manufacturer’s instructions, usually 20–30 minutes, until it reaches a thick, creamy consistency. Monitor the texture closely to prevent over-churning, which can make the ice cream icy.
- Freeze and Store Properly: Transfer the freshly churned ice cream into an airtight container and smooth the surface with a spatula. Freeze for several hours until firm. If serving after longer storage, allow the ice cream to sit at room temperature for a few minutes to soften slightly for easier scooping.
Notes
- For best flavor, allow the spices to steep in the cream and milk for at least 30 minutes; this develops a rich, aromatic base.
- Alcohol is optional, but adding rum, bourbon, or brandy prevents the ice cream from becoming icy during extended freezer storage.
- Make sure to temper the egg yolks slowly with the warm cream to avoid curdling and achieve a smooth custard.
- Use a fine mesh strainer to remove cloves and ensure a silky, velvety texture in the finished ice cream.
- The ice cream will be soft when it comes out of the ice cream maker; allow extra freezer time if you prefer a firmer scoop.
Chef’s Secrets for Creamy Texture
The key to a perfectly smooth Eggnog Ice Cream lies in the custard base.
Slowly tempering the egg yolks prevents curdling and ensures a creamy, dense texture.
Steeping the spices in warm cream and milk allows the flavors to infuse fully, creating that signature holiday aroma.
Straining the custard over an ice bath stops the cooking immediately, maintaining the delicate balance between richness and smoothness.
Additionally, the optional addition of alcohol acts as a natural softener, keeping the ice cream scoopable even after prolonged storage.
These small techniques elevate your homemade version to a professional-quality dessert.
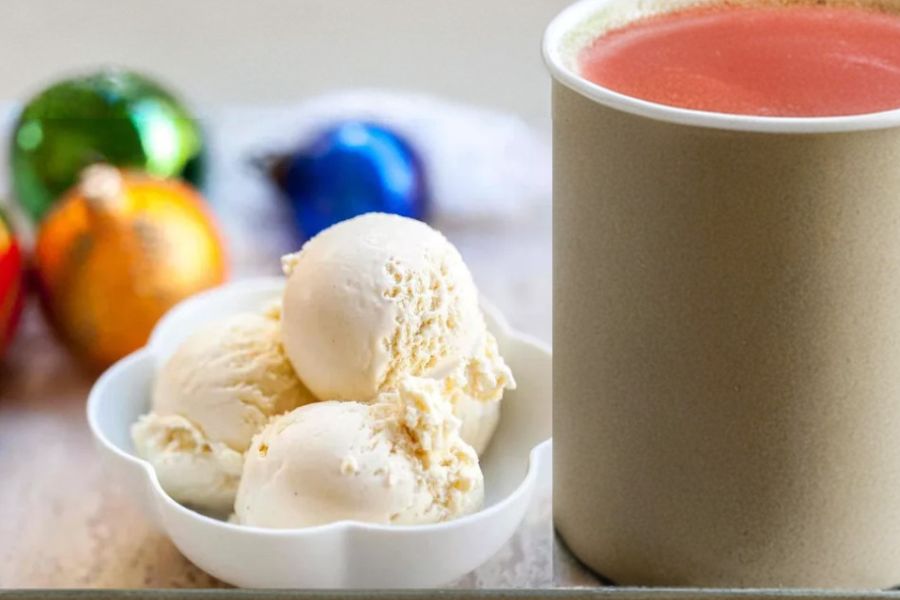
Serving Suggestions for Holiday Enjoyment
Serve this Eggnog Ice Cream in small bowls or elegant dessert glasses for a festive touch.
Top with a sprinkle of nutmeg or cinnamon for added warmth and aroma.
For a celebratory twist, pair it with warm apple pie, gingerbread cookies, or a drizzle of caramel sauce.
Mini chocolate shavings or crushed candy canes add visual appeal and a playful texture.
This dessert works well as both a solo indulgence and a complement to holiday meals, making it versatile for entertaining or cozy family nights.
Storage Tips for Best Freshness
Store your Eggnog Ice Cream in an airtight container in the coldest part of your freezer to prevent ice crystals from forming.
If you’ve added alcohol, it will remain softer and scoopable even after a few days.
For the best texture, allow the ice cream to sit at room temperature for 5–10 minutes before scooping.
Homemade ice cream is best consumed within 2–3 weeks, though it can last up to a month when properly sealed.
Always use a clean, dry spatula when serving to avoid introducing moisture that can affect texture.
Frequently Asked Questions (5)
1. Can I make this recipe without alcohol?
Yes, the alcohol is optional. The ice cream may be slightly firmer if stored longer, so consider serving it the same day for the best texture.
2. How do I prevent the eggs from curdling?
Temper the egg yolks slowly by adding warm cream a little at a time while whisking constantly. This gradually raises their temperature without cooking them too fast.
3. Can I use low-fat milk or cream?
You can substitute, but the ice cream will be less rich and creamy. Heavy cream provides the signature smooth texture and body.
4. How long should the ice cream be churned?
Churn according to your ice cream maker’s instructions, typically 20–30 minutes, until it reaches a thick, soft-serve consistency. Over-churning may cause icy texture.
5. Can I prepare this ahead of time?
Absolutely! The custard base can be made a day in advance and refrigerated, making it ideal for holiday meal prep. Churn just before serving for optimal freshness.
This recipe has been adapted and simplified from the original version by simplyrecipes. We’ve refined the steps for a smoother cooking experience and added helpful notes, nutrition insights, and essential kitchen tools to make it even easier for home cooks.