
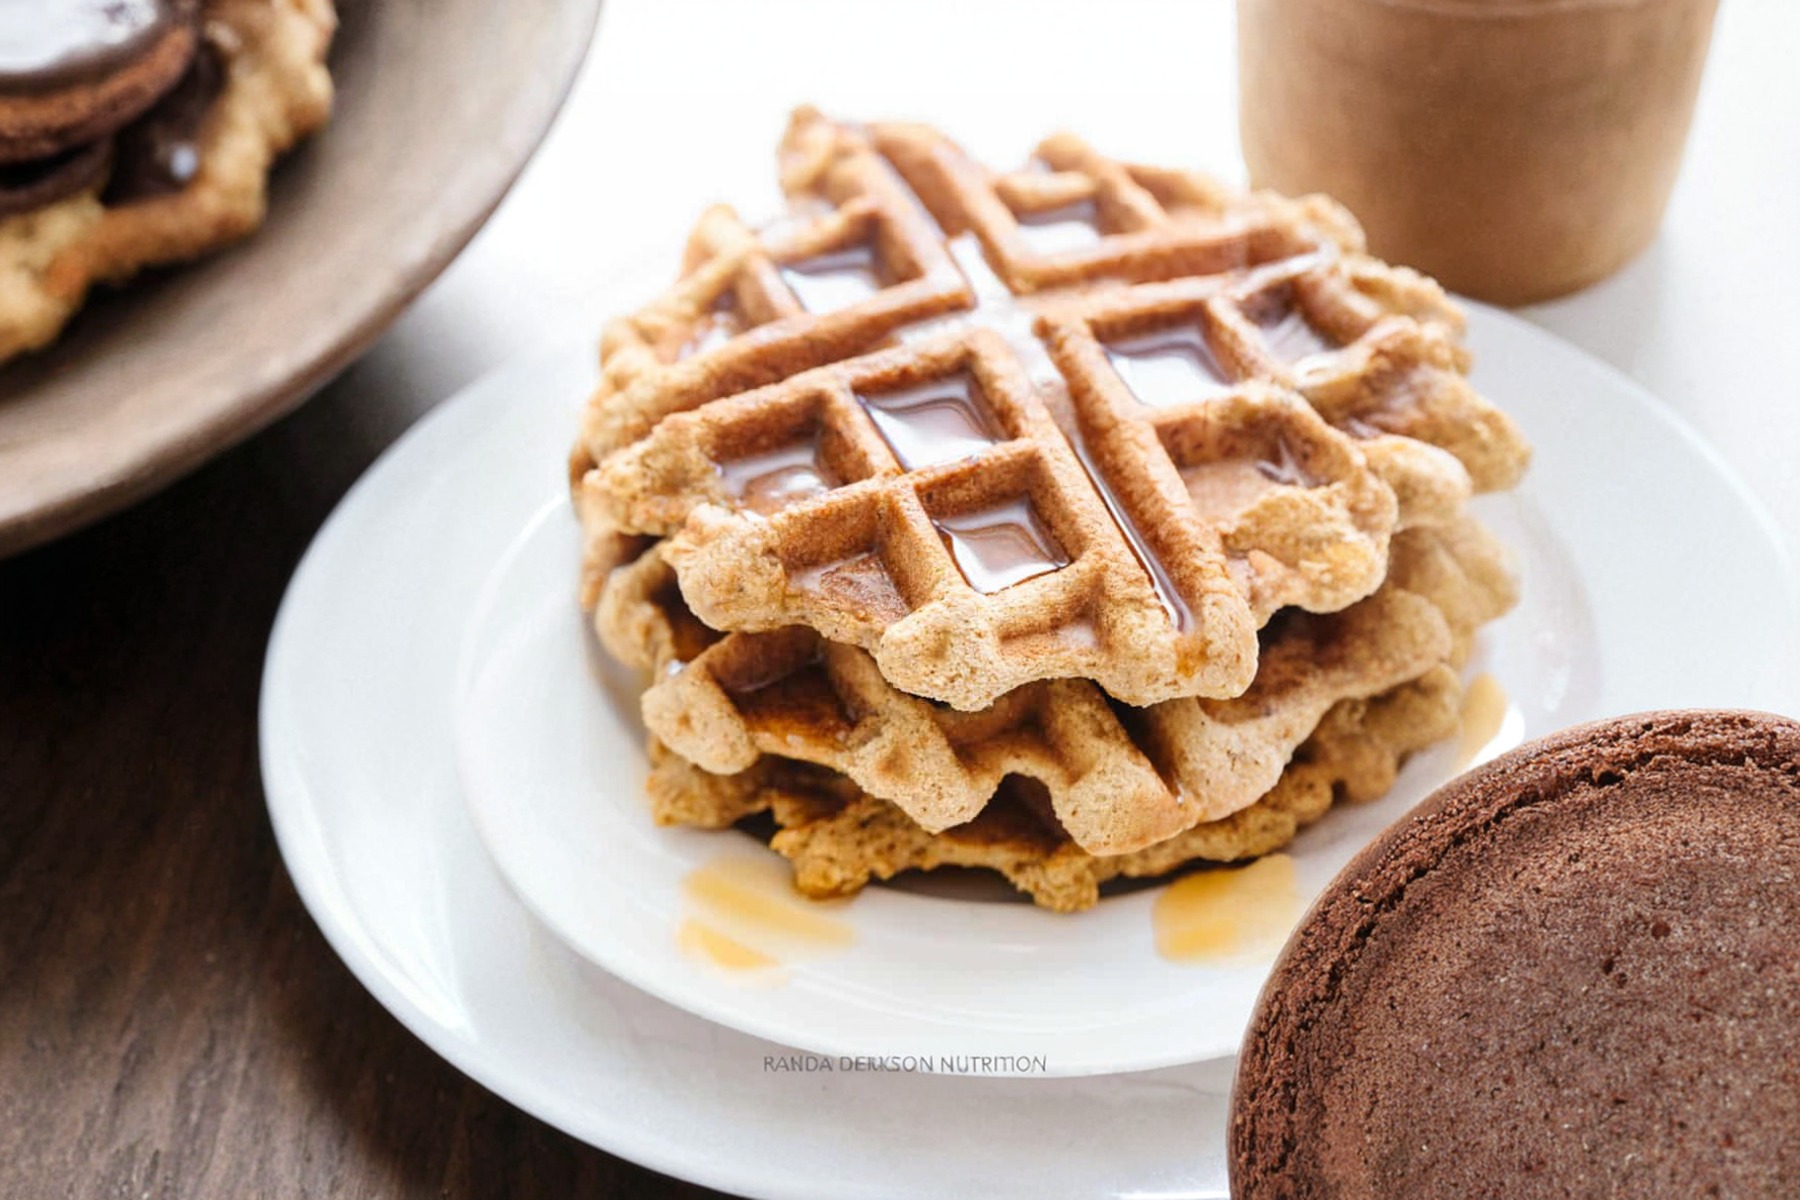
These Coconut Flour Waffles are a light, fluffy, and gluten-free way to start your day.
Made with protein-rich eggs and fiber-packed coconut flour, they provide sustained energy while keeping carbs relatively low.
Unsweetened almond milk adds creaminess without excess calories, and the recipe’s simplicity makes it ideal for busy mornings or weekend brunches.
Unlike traditional waffles, coconut flour creates a naturally slightly sweet, cake-like texture that pairs beautifully with pure maple syrup, fresh fruit, or a dollop of yogurt.
High in protein, moderate in healthy fats, and rich in dietary fiber, these waffles support satiety and balanced nutrition.
They are quick to prepare, require minimal cleanup, and can be customized with chocolate, berries, or other mix-ins, making them a versatile, everyday-friendly option for breakfast, brunch, or even a wholesome snack.
Must-Have Tools for Perfect Results
Waffle Iron
Ensures even cooking and crispy exteriors while maintaining a soft, fluffy interior. Essential for consistently perfect waffles every time.
Mixing Bowl
Combines all ingredients smoothly without extra dishes. Versatile for batters, doughs, or even salad prep.
Whisk
Perfect for blending coconut flour, eggs, and almond milk into a lump-free, airy batter, ensuring light and fluffy waffles.
Measuring Cups and Spoons
Provide accurate measurements for flour, liquids, and spices, ensuring consistent results and balanced flavor every batch.
Spatula
Helps remove cooked waffles gently from the iron without breaking, and allows easy folding in mix-ins like berries or chocolate chips.
Quick and Easy Coconut Flour Waffles
Equipment
- 1 Waffle Iron
- 1 Mixing Bowl
- 1 whisk
- Measuring cups and spoons
- 1 Spatula
Ingredients
- 1 cup coconut flour
- 1 cup unsweetened almond milk
- 4 eggs
- 1 teaspoon baking soda
- 1/2 teaspoon or 1 teaspoon vanilla extract
- Optional Toppings: maple syrup whipped cream, fresh berries
Instructions
- Preheat the Waffle Iron: Plug in your waffle iron and allow it to heat fully according to the manufacturer’s instructions. A properly preheated iron ensures even cooking and a crisp exterior while keeping the interior soft and fluffy.
- Prepare the Batter: In a mixing bowl, add coconut flour, unsweetened almond milk, eggs, baking soda, and vanilla extract. Use a whisk to blend all ingredients thoroughly, creating a smooth, lump-free batter. Coconut flour absorbs liquids quickly, so ensure the batter is well combined.
- Adjust Consistency: Check the batter consistency; it should be thick but spoonable. If too thick, add a tablespoon of almond milk at a time. A slightly thicker batter will hold its shape in the waffle iron without spilling over.
- Spoon Batter Into Iron: Once preheated, spoon approximately 1/3 cup of batter (or adjust depending on the size of your waffle iron) onto the center of each waffle section. Use a spatula to spread gently if needed, ensuring even coverage.
- Cook the Waffles: Close the waffle iron and cook for 4–7 minutes, depending on your iron and preferred crispiness.Check the waffles periodically; golden brown edges and firm texture indicate they are done.
- Remove Carefully: Open the waffle iron and use a spatula to lift the waffles gently. Avoid scraping the non-stick surface to prevent damage. Place cooked waffles on a plate and keep warm while cooking remaining batter.
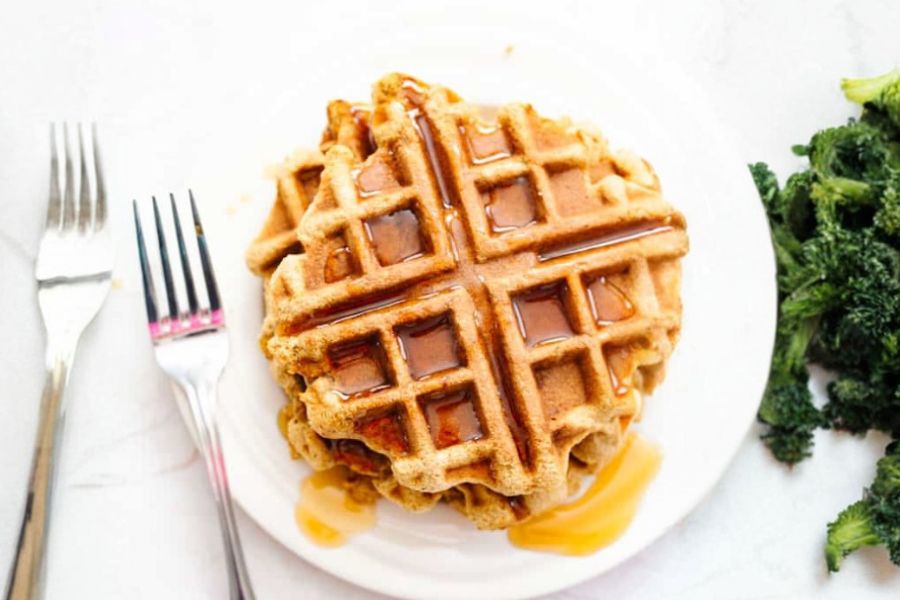
- Serve and Garnish: Serve immediately with maple syrup, fresh berries, or a dollop of whipped cream. Optional toppings like cacao powder or mixed fruit can be folded into the batter before cooking for variety. Enjoy warm, fluffy, and naturally gluten-free waffles!
Notes
- Mix Thoroughly: Coconut flour absorbs liquids quickly, so whisk well to avoid lumps and ensure a smooth, consistent batter.
- Adjust Liquid if Needed: Depending on egg size or almond milk brand, you may need a splash more milk to reach the right consistency.
- Cooking Time Varies: Waffle irons differ; cook until edges are golden brown and waffles feel firm to the touch.
- Add-Ins: Fold in 2 tablespoons of cacao powder for chocolate waffles or 1/4 cup fresh berries for fruity waffles.
- Serving Suggestions: Serve immediately for best texture; waffles can be kept warm in a low oven but are best fresh.
Chef’s Secrets For Perfect Waffles
The key to light, fluffy coconut flour waffles is proper batter consistency and precise cooking.
Whisk all ingredients thoroughly to avoid clumps, as coconut flour absorbs moisture quickly.
Preheat your waffle iron completely to ensure crisp, golden edges, and cook slightly longer than you would traditional waffles to allow the interior to set.
For variety, fold in fresh berries or cacao powder before cooking.
A small touch of vanilla or cinnamon can enhance flavor, while keeping the waffles naturally sweet allows for healthy toppings like maple syrup, fruit, or yogurt to shine.
These small techniques elevate simple ingredients into a café-quality breakfast.
Serving Suggestions For Breakfast Brilliance
Coconut flour waffles are versatile and pair beautifully with fresh fruit, nut butter, or a drizzle of pure maple syrup.
Top with a dollop of yogurt or whipped coconut cream for extra indulgence.
Serve alongside a hot cup of coffee or herbal tea for a balanced morning meal.
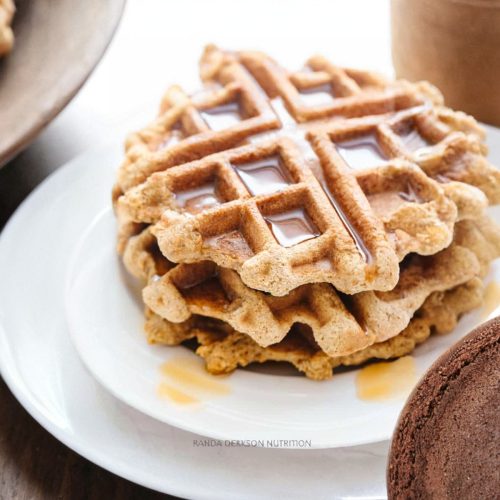
For brunch gatherings, stack waffles on a platter with berries, nuts, and small bowls of syrup or spreads, allowing guests to customize their portions.
Their naturally sweet, slightly nutty flavor makes them ideal for both casual weekday breakfasts and special weekend brunches.
Storage Tips For Freshness Maintenance
These waffles are best enjoyed immediately but can be stored for convenience.
Cool completely before storing in an airtight container in the refrigerator for up to three days.
Reheat in a toaster or oven to regain crispness; microwaving may make them slightly soft. For longer storage, freeze waffles individually with parchment paper between layers for up to one month.
Defrost at room temperature or reheat directly from frozen in a toaster for a quick, convenient breakfast.
Avoid stacking fresh waffles directly after cooking to prevent condensation and sogginess.
Frequently Asked Questions Answered
1. Can I make this recipe dairy-free?
Yes! Using unsweetened almond milk makes it completely dairy-free. Coconut milk or other plant-based milk works well too.
2. Can I add flavor variations?
Absolutely! Mix in cacao powder for chocolate waffles, berries for fruit waffles, or cinnamon and vanilla for extra warmth and aroma.
3. How do I prevent waffles from sticking?
Ensure your waffle iron is preheated and lightly greased if needed. Non-stick irons usually work without additional oil.
4. Can I prepare the batter ahead of time?
Yes, store the mixed batter in the fridge for up to 24 hours, but give it a good stir before cooking as coconut flour absorbs moisture over time.
5. Are these waffles low-carb or keto-friendly?
Coconut flour is lower in carbs than wheat flour, but they are moderate in carbs due to almond milk and eggs. Adjust toppings for stricter low-carb needs.
This recipe has been adapted and simplified from the original version by randaderkson. We’ve refined the steps for a smoother cooking experience and added helpful notes, nutrition insights, and essential kitchen tools to make it even easier for home cooks.