
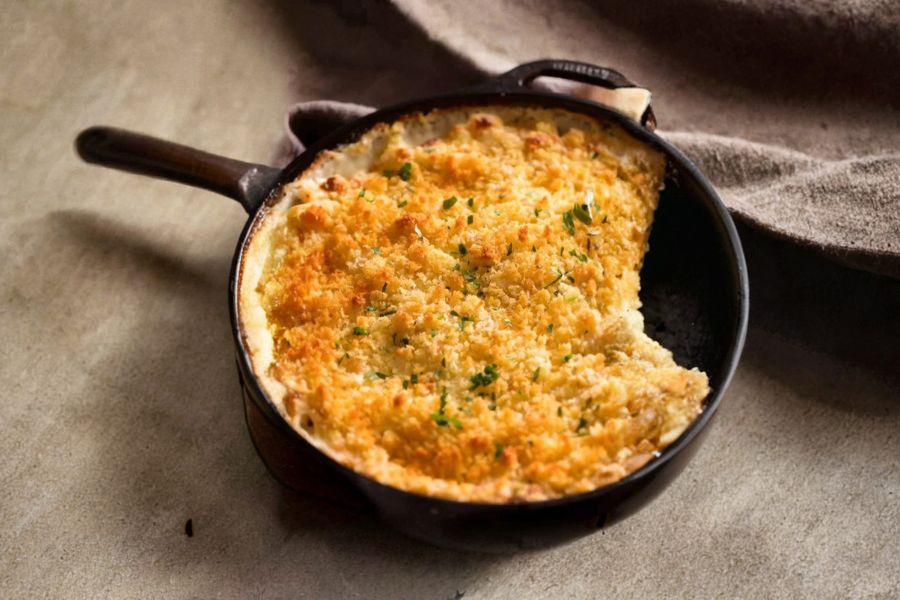
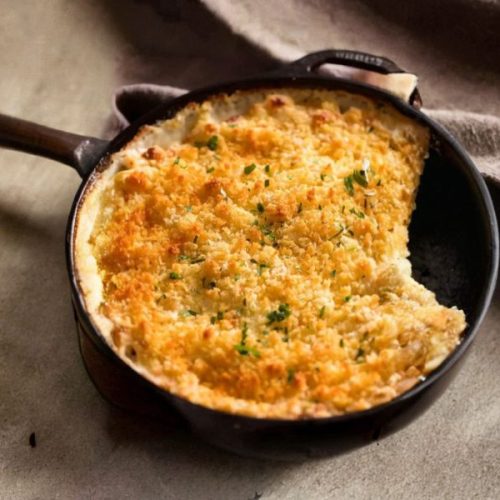
This Baked Mac and Cheese stands out as the ultimate comfort food, combining a luxuriously creamy cheese sauce with a crisp, golden breadcrumb topping.
What makes it especially appealing is the methodical approach that keeps the pasta perfectly tender while preventing it from becoming soggy, creating an ideal balance of creamy and crunchy textures.
Nutritionally, it offers a good dose of protein from the cheese, calcium for bone health, and healthy fats from butter and milk.
While indulgent, the recipe provides a satisfying, fiber-conscious meal when paired with a side of vegetables.
Its relatively simple prep and assembly make it perfect for weeknight dinners, family gatherings, or meal prep, offering a hearty, crowd-pleasing dish in just over an hour
Must-Have Tools for Perfect Results
Lodge 9″ Cast Iron Skillet
Ideal for both stovetop and oven cooking, this skillet allows you to prepare the roux and assemble the mac and cheese without transferring dishes. Its even heat distribution ensures creamy, lump-free sauce every time.
Chef’sChoice Box Grater
Freshly grating your cheese is crucial for a smooth, velvety sauce. This grater ensures uniform shreds for faster melting and superior flavor compared to pre-shredded cheese.
Whisk
A sturdy whisk is essential to incorporate flour into melted butter and milk evenly, creating a silky, lump-free béchamel sauce. Beyond this recipe, it’s perfect for sauces, dressings, and batters.
9×13” Baking Dish:This standard-size dish ensures even baking and allows the topping to crisp beautifully. Its versatility extends to casseroles, desserts, and baked pasta dishes.
Large Saucepan: Perfect for boiling pasta to al dente perfection. A deep saucepan prevents water from boiling over and accommodates stirring for evenly cooked pasta.
Creamy Baked Macaroni and Cheese
Equipment
- 1 large saucepan (for boiling pasta)
- 1 cast iron skillet or ovenproof skillet (26 cm / 9")
- 1 whisk (for sauce)
- 1 box grater (for cheese)
- 9×13” baking dish (for baking)
Ingredients
Macaroni:
- 250 g / 8 oz macaroni elbow pasta
- 15 g / 1 tbsp unsalted butter or 2 tsp oil
Topping:
- 2/3 cup panko breadcrumbs
- 30 g / 2 tbsp unsalted butter melted
- 1/4 tsp salt
- Cheese Sauce:
- 60 g / 4 tbsp unsalted butter
- 1/3 cup all-purpose flour
- 3 cups milk warmed (low-fat or full-fat)
- 2 cups freshly shredded gruyere or preferred main cheese
- 1 cup freshly shredded mozzarella or additional cheese of choice
- 3/4 tsp salt
Optional Seasonings:
- 1 tsp garlic powder
- 1/2 tsp onion powder
- 1/2 tsp mustard powder
Instructions
- Cook Pasta Perfectly: Bring a large saucepan of salted water to a rolling boil over medium-high heat. Add the macaroni and cook according to package directions, but subtract one minute to ensure the pasta remains slightly firm (al dente). Drain thoroughly, return to the pot, and toss with butter until evenly coated; this prevents the pasta from absorbing too much sauce later.
- Prepare Crunchy Topping: In a small bowl, combine panko breadcrumbs, melted butter, and salt. Mix thoroughly until the crumbs are evenly coated in butter, which will create a golden, crunchy topping when baked. Set the topping aside while you make the cheese sauce to ensure it remains fresh and crisp.
- Make the Roux Base: In a large, ovenproof skillet or saucepan, melt butter over medium heat. Add flour and stir constantly for about one minute until it forms a smooth paste (roux) and loses its raw flour taste. This forms the thickening base for your creamy cheese sauce.
- Incorporate Milk Gradually: Pour in one cup of warmed milk slowly, whisking continuously to dissolve the roux completely. Gradually add the remaining milk, whisking to avoid lumps, until a smooth, velvety sauce forms. Cook over medium heat, stirring often, until the sauce thickens enough to coat the back of a spoon.
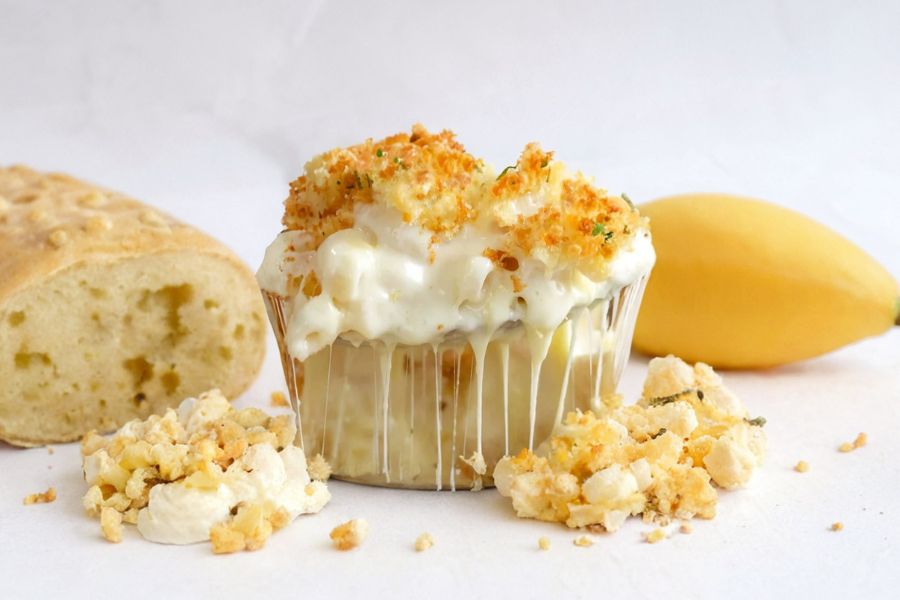
- Add Cheese and Seasonings: Remove the sauce from heat and stir in the shredded cheeses, garlic powder, onion powder, mustard powder, and salt. Mix gently until the cheese begins to melt, creating a creamy, luscious mixture. Taste and adjust seasoning if needed before combining with the pasta.
- Combine Pasta and Sauce: Pour the cheese sauce directly into the butter-coated macaroni and stir quickly to coat every piece evenly. Transfer the cheesy pasta mixture into a lightly greased 9×13” baking dish or ovenproof skillet, spreading it evenly for uniform baking.
- Add Topping and Bake: Sprinkle the prepared panko breadcrumb mixture evenly over the top of the pasta. Place the dish in a preheated oven at 180°C / 350°F and bake for 25 minutes or until the topping is lightly golden and crisp, ensuring the sauce remains creamy underneath.
- Serve and Garnish: Remove from the oven and allow the baked mac and cheese to rest for a few minutes. Garnish with fresh parsley if desired, and serve immediately for a rich, indulgent, crowd-pleasing dish that’s perfect for family dinners or special gatherings.
Notes
- Grate your own cheese for a smooth, creamy sauce; pre-shredded cheese often contains anti-caking agents that can make the sauce grainy.
- Tossing the cooked pasta with butter prevents it from absorbing too much sauce and keeps it light and fluffy.
- Panko breadcrumbs create a crispier topping than regular breadcrumbs; you can substitute if needed, but the texture will differ slightly.
- Adjust salt carefully depending on the cheeses used, as some cheeses like Gruyère or cheddar can be saltier than others.
- Make-ahead tip: Prepare pasta and sauce separately, combine, then refrigerate or freeze. Bake from chilled, covering with foil for best results.
Chef’s Secrets For Creamy Perfection
The key to a luxuriously creamy baked mac and cheese lies in layering flavors and textures thoughtfully.
Always cook the pasta slightly underdone and coat it with butter; this ensures it won’t swell in the sauce and maintains the perfect bite.
Gradually adding warmed milk to the roux prevents lumps, creating a silky base. Using a combination of cheeses, such as Gruyère for flavor and mozzarella for melt, adds depth and stretch to the sauce.
Finally, topping the dish with buttery panko breadcrumbs introduces a satisfying crunch that contrasts beautifully with the creamy interior.
These techniques transform a simple comfort dish into a standout, restaurant-quality meal.
Serving Suggestions To Impress Guests
Baked mac and cheese pairs wonderfully with a range of side dishes and main courses.
Serve alongside a crisp green salad with a tangy vinaigrette to balance the richness of the cheese.
Roasted or steamed vegetables, such as broccoli or asparagus, provide color and nutrition while complementing the creamy texture.
For a heartier meal, accompany with grilled chicken, sausages, or even baked fish.
Garnishing with fresh herbs like parsley or chives adds visual appeal and a fresh flavor lift.
Portion generously into individual bowls or serve family-style straight from the baking dish for a cozy, inviting presentation.
Storage Tips For Long-Lasting Freshness
Leftover baked mac and cheese stores well when handled properly.
Allow the dish to cool completely before covering and refrigerating in an airtight container for up to 3–4 days.
For longer storage, freeze in a freezer-safe container for up to 2 months; thaw overnight in the fridge before reheating.
To reheat, microwave until warm or place in a preheated oven at 175°C / 350°F, covering with foil to retain moisture, then uncover for 5–10 minutes to crisp the topping.
Spritzing a little oil or adding a pat of butter on top during reheating helps maintain the golden, crunchy texture.
Frequently Asked Questions About Recipe
1. Can I use different pasta types?
Yes! While elbow macaroni is traditional, small shells, penne, or cavatappi also work well. Choose a shape that holds sauce effectively for maximum creaminess.
2. Can I make it ahead of time?
Absolutely. Prepare the pasta and sauce separately, combine, and refrigerate or freeze. Bake directly from chilled, covering with foil initially to prevent drying out.
3. How do I prevent a grainy sauce?
Grate your own cheese instead of using pre-shredded. Warm the milk before adding to the roux, and whisk continuously to achieve a smooth, creamy sauce.
4. Can I make it vegetarian or lighter?
Yes. Stick to plant-based butter and cheeses for a vegetarian version, or use low-fat milk and part-skim cheese for a lighter alternative without compromising flavor.
5. How can I make the topping extra crunchy?
Mix panko breadcrumbs with melted butter and a pinch of salt. For added flavor, sprinkle in some grated parmesan or paprika. Toast lightly before baking if you want extra crispiness.
This recipe has been adapted and simplified from the original version by recipetineats. We’ve refined the steps for a smoother cooking experience and added helpful notes, nutrition insights, and essential kitchen tools to make it even easier for home cooks.