
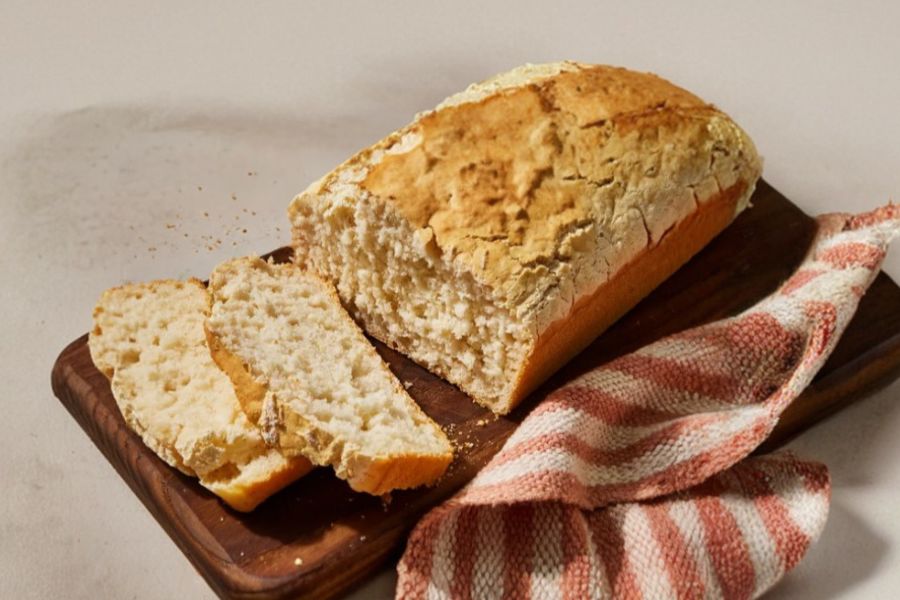
This simple beer bread recipe delivers warm, rustic flavor with minimal effort—perfect for busy weeknights or casual gatherings.
With just three pantry staples, it creates a hearty loaf that pairs well with soups, stews, or breakfast spreads.
The beer not only adds flavor but helps the bread rise without yeast, making it quicker and foolproof.
It’s a satisfying option that’s high in carbohydrates for energy and contains no added fats, making it lower in saturated fat compared to butter-heavy breads.
Because it uses self-rising flour, it saves time while still delivering great texture.
It’s a great everyday recipe for beginners and experienced cooks alike—no kneading, no waiting.
Must-Have Tools for Perfect Results
9×5-Inch Loaf Pan
Ensures even baking and a well-shaped loaf; a staple in any kitchen for quick breads, meatloaf, and pound cakes.
Mixing Bowl (Large)
Ideal for combining dry and wet ingredients evenly; useful for salads, batters, and doughs across countless recipes.
Wooden Spoon
Perfect for mixing thick batters without damaging the bowl; durable and essential for stirring sauces, soups, and doughs.
Measuring Cups
Provide accurate flour, sugar, and liquid measurements for consistent results; a foundational tool for both baking and cooking.
Quick Beer Bread
Equipment
- 1 Large Mixing Bowl
- 1 Wooden Spoon
- 1 9×5-inch loaf pan
- 1 measuring cup (liquid)
- Cooking Spray
Ingredients
- 3 cups self-rising flour
- 3 tablespoons white sugar
- 12 fl oz beer 1 can or bottle
- Cooking spray for greasing
Instructions
- Prep the Oven & Pan: Preheat your oven to 350°F (175°C) to ensure it’s hot and ready by the time your batter is mixed. Generously grease a 9×5-inch loaf pan with cooking spray, coating the bottom and sides so the bread doesn’t stick later. Set the pan aside on a flat surface, ready for the batter.
- Combine Dry Ingredients: In a large mixing bowl, add the self-rising flour and white sugar. Use a wooden spoon to thoroughly mix the dry ingredients until the sugar is evenly dispersed and no clumps remain. This step sets the foundation for a well-balanced texture in the finished loaf.
- Add the Beer: Slowly pour the entire can or bottle of beer into the flour mixture. The carbonation will begin to react, creating a slightly foamy surface. Let the liquid settle for a moment before mixing, which helps it fully absorb into the dry ingredients.
- Mix Until Sticky Dough Forms: Using your wooden spoon, begin stirring the mixture until the flour starts to absorb the beer and a thick, sticky batter forms. Once it becomes too tough to stir, switch to using clean hands to fold everything together gently. The dough should be sticky and cohesive, with no dry flour at the bottom of the bowl.
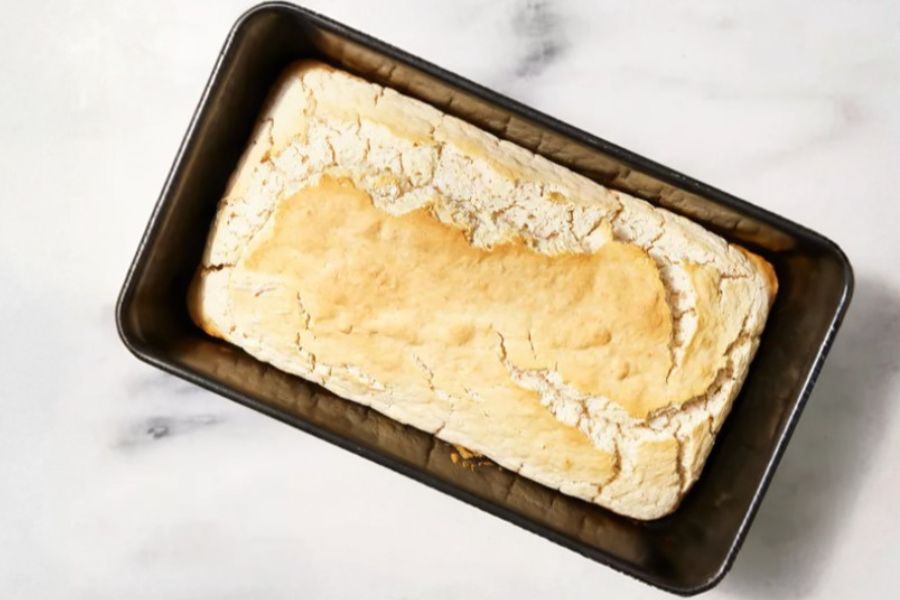
- Transfer Batter to Pan: Scoop the thick dough into the prepared loaf pan, using your hands or the spoon to scrape all of it out of the bowl. Press the batter gently into the corners and level the top surface so it bakes evenly. The dough will be dense and sticky, which is exactly what you want.
- Bake to Golden Perfection: Place the filled loaf pan on the center rack of your preheated oven. Bake for 50–60 minutes, or until the top is a deep golden brown and a toothpick inserted in the center comes out clean. The bread will rise and form a slightly crisp crust while the inside stays soft and tender.
- Cool and Serve: Once baked, carefully remove the pan from the oven and place it on a cooling rack. Allow the bread to rest in the pan for about 10 minutes, then gently remove the loaf and let it cool completely or slice while warm for immediate serving. Enjoy it plain, with butter, or alongside your favorite meal.
Notes
- You can use any type of beer, but darker beers will create a richer flavor while lighter beers keep it mild.
- If you don’t have self-rising flour, combine 3 cups all-purpose flour with 1 tablespoon baking powder and 1 teaspoon salt.
- For a buttery crust, brush melted butter over the top during the last 10 minutes of baking.
- The dough will be sticky — that’s normal — avoid overmixing to prevent a dense loaf.
- This bread is best served warm but also toasts beautifully the next day.
Chef’s Secrets for Success
The key to getting the perfect texture lies in gently mixing the dough.
Once the beer is added, stir just until everything is combined — overmixing can make the bread tough.
Let the batter remain sticky rather than trying to make it smooth.
Also, using a good-quality loaf pan ensures even heat distribution and a golden crust every time.
Serving Suggestions to Enjoy
Beer bread is incredibly versatile and pairs well with savory dishes.
Serve it warm with soups like tomato basil or chili, or offer it alongside stews and grilled meats.
For a simple snack, toast a slice and top it with butter, honey, or jam.
It also makes a great base for open-faced sandwiches or a rustic breakfast platter.
Storage Tips and Shelf Life
Let the bread cool completely before storing.
Wrap it tightly in foil or plastic wrap and keep it at room temperature for up to 3 days.
For longer storage, slice the loaf and freeze the pieces in a resealable bag; simply toast or warm them in the oven whenever needed.
Avoid refrigerating, as it can dry the bread out more quickly.
Frequently Asked Questions
1. Can I use non-alcoholic beer?
Yes! Non-alcoholic beer works well and still provides carbonation to help the bread rise while delivering a mild flavor.
2. What if I don’t have self-rising flour?
You can make your own by using all-purpose flour and adding baking powder and salt as noted in the recipe notes.
3. Why is my bread too dense?
This usually happens if you overmix the dough or use flour that is too compacted. Lightly spoon flour into the measuring cup and level it off.
4. Can I add cheese or herbs?
Absolutely! Stir in shredded cheese, garlic powder, or chopped herbs for added flavor without altering the baking time.
5. How do I know it’s done baking?
The top should be golden brown, and a toothpick inserted into the center should come out clean or with just a few dry crumbs.
This recipe has been adapted and simplified from the original version by allrecipes. We’ve refined the steps for a smoother cooking experience and added helpful notes, nutrition insights, and essential kitchen tools to make it even easier for home cooks.