
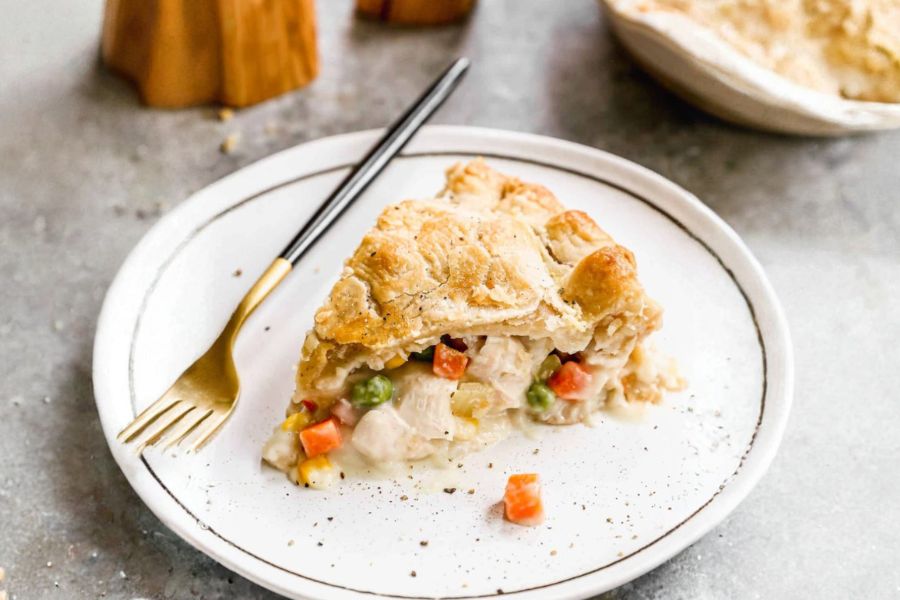
This Chicken Pot Pie recipe transforms a classic comfort dish into a wholesome, everyday meal.
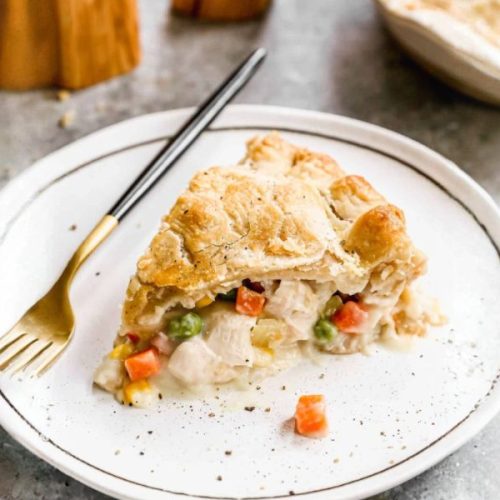
Its flaky, buttery crust encases a creamy filling brimming with tender chicken, vibrant vegetables, and subtle seasonings.
Rich in protein from lean chicken and fiber from peas, carrots, and green beans, it provides balanced nutrition while keeping flavors indulgent yet satisfying.
The use of milk and a modest amount of butter ensures good fats without excessive saturated fat, making it a heart-friendly choice.
Beyond nutrition, this recipe is incredibly practical: the filling can be made ahead, the pie freezes beautifully, and assembly is straightforward, making it perfect for meal prep or a weeknight dinner.
Its comforting flavors and easy preparation make it a versatile favorite for families or solo diners craving a hearty, home-cooked meal.
Must-Have Tools for Perfect Results
9-Inch Pie Pan
Essential for shaping the pie and evenly baking the crust. Its sturdy construction ensures a golden, crisp base while serving as a versatile pan for quiches, tarts, and desserts.
Rolling Pin
Perfect for rolling out both the top and bottom crusts to a uniform thickness. A must-have for any baker, it also works for pastries, cookies, and flatbreads.
Large Saucepan
Ideal for cooking the chicken and preparing the creamy vegetable filling. Beyond this recipe, it’s invaluable for soups, sauces, and one-pot meals.
Pastry Brush
Used to apply the egg wash for a glossy, golden finish on the crust. Its precision makes it perfect for glazing baked goods or coating meats and vegetables.
Measuring Cups and Spoons
Ensures accurate measurements of ingredients like flour, milk, and seasonings, guaranteeing consistent results. Essential for baking, cooking, and portion control in everyday kitchen tasks.
Healthy Chicken Pot Pie
Equipment
- 1 9-inch Pie Pan
- 1 rolling pin
- 1 Large Saucepan
- 1 pastry brush
- Measuring Cups & Spoons
Ingredients
- 1 recipe Homemade pie dough chilled (makes 2 crusts)
- 1 pound boneless skinless chicken breasts
- 1/3 cup butter 75 g
- 1/2 cup celery sliced (50 g)
- 1/3 cup onion chopped (45 g)
- 1/3 cup all-purpose flour 40 g
- 1/2 teaspoon salt 2.5 g
- 1/4 teaspoon black pepper 0.5 g
- 1/4 teaspoon celery seed 0.5 g
- 1/2 teaspoon garlic powder 1.5 g
- 1 teaspoon chicken bouillon paste 5 g
- 1 cup milk 240 ml
- 8 ounces frozen mixed vegetables 225 g
- 1 egg
- 1 tablespoon milk 15 ml
Instructions
- Prepare the Chicken: Start by seasoning the chicken breasts lightly with salt and pepper. Place them in a large saucepan and cover with water. Bring the water to a gentle simmer, allowing the chicken to cook until just tender. Remove the chicken from the water and let it cool slightly before chopping into bite-sized pieces. Reserve approximately 1 ¾ cups of the cooking liquid to use in the filling, and discard any excess.
- Sauté the Vegetables: In the same saucepan, melt the butter over medium heat. Add the chopped onions and sliced celery, cooking until they become soft, translucent, and fragrant. Stir frequently to prevent sticking and ensure even cooking.
- Create the Thickener: Sprinkle the flour, garlic powder, celery seed, salt, black pepper, and chicken bouillon paste over the vegetables. Stir continuously for 1–2 minutes to combine, creating a roux that will give your filling a creamy consistency.
- Make the Creamy Filling: Gradually pour in the reserved chicken water and milk while stirring constantly. Continue to cook over medium-low heat until the mixture thickens into a smooth, creamy sauce. Taste and adjust seasoning as needed.
- Combine Chicken and Vegetables: Add the chopped chicken and frozen vegetable mix to the sauce, folding gently until everything is evenly coated. Remove from heat and allow the filling to cool to room temperature, ensuring it is not too hot when placed into the pie crust.
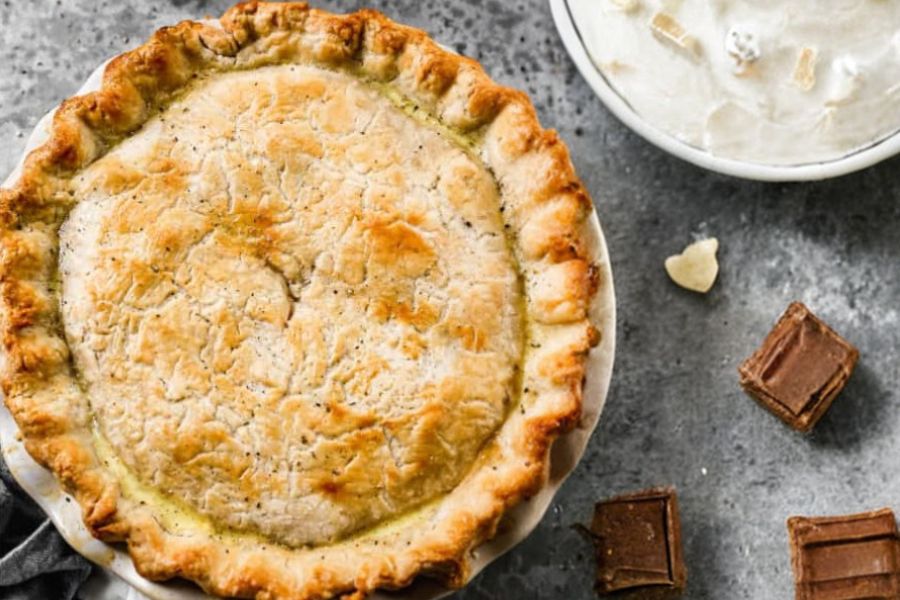
- Assemble the Pie: Roll out one portion of the chilled pie dough into a 12-inch circle and fit it into a 9-inch pie pan. Pour in the cooled filling, spreading it evenly. Roll out the second crust and carefully cover the top, sealing the edges by crimping or pinching together. Cut a small slit in the center for steam to escape during baking.
- Apply Egg Wash and Bake: Whisk together the egg and 1 tablespoon of milk, then brush it lightly over the top crust for a golden finish. Bake in a preheated oven at 425°F for 40–50 minutes, until the crust is golden and the filling bubbles. Let the pie rest for 15–20 minutes before slicing to ensure it sets perfectly.
Notes
- Make Ahead: The chicken filling and pie crust can be prepared a day or two in advance. Store them separately in the refrigerator until ready to assemble.
- Freezing Option: You can freeze the fully assembled pie before or after baking. Wrap tightly in foil and freeze for up to 3 months. Thaw overnight in the fridge before reheating.
- Vegetable Variations: Swap or add vegetables like broccoli, mushrooms, or bell peppers for extra flavor and nutrition.
- Crispier Crust Tip: To ensure a golden crust, brush the top with egg wash and bake on the lower oven rack for even browning.
- Adjusting Thickness: If the filling seems too thin, continue simmering until it reaches the desired consistency; for thicker filling, add a little more flour slurry.
Chef’s Secrets To Perfect Pie
The key to a rich, flavorful Chicken Pot Pie is building layers of taste.
Simmering the chicken in water before chopping preserves its tenderness while infusing subtle flavor.
Cooking the vegetables in butter enhances sweetness and aroma, while creating a roux with flour ensures the filling is luxuriously creamy.
Always allow the filling to cool slightly before adding it to the pie crust; this prevents the dough from becoming soggy.
Rolling the dough evenly and sealing the edges tightly will give a neat appearance and prevent leaks.
Lastly, the egg wash is not just cosmetic—it adds a golden finish and a delicate, shiny texture that makes the pie visually irresistible.
Serving Suggestions For Home Meals
Chicken Pot Pie pairs beautifully with simple sides to balance its richness. Serve with a crisp green salad, roasted asparagus, or a light slaw for a refreshing contrast.
For cozy family dinners, pair it with warm, crusty bread to soak up the creamy filling.
Individual portions can also be served with a dollop of sour cream or a sprinkle of fresh herbs, such as parsley or thyme, to add color and flavor.
This dish is also perfect for casual entertaining or potluck meals, as it satisfies a crowd and keeps well for leftovers.
Storage Tips For Longevity
To maximize freshness, store leftover pie in an airtight container in the refrigerator for 3–4 days.
For longer storage, freeze the pie tightly wrapped in aluminum foil or freezer-safe plastic for up to 3 months.
When reheating, bake at 350°F for 25–30 minutes to restore the crust’s crispiness and heat the filling evenly.
The filling can also be frozen separately; simply thaw overnight and bake with fresh dough.
Always allow baked pies to cool before storing to prevent condensation and sogginess.
Proper storage ensures the pie remains as flavorful and satisfying as the first day it was made.
Frequently Asked Questions Answered
1. Can I use rotisserie chicken?
Yes! Pre-cooked rotisserie chicken saves time and adds extra flavor. Chop it into bite-sized pieces and mix it with the sauce, reducing the need to simmer raw chicken.
2. What if my crust browns too quickly?
Cover the pie loosely with aluminum foil during baking to prevent over-browning. Remove the foil in the last 10 minutes to allow a golden finish.
3. Can I make it gluten-free?
Absolutely. Substitute regular flour in the roux with a gluten-free flour blend and use a gluten-free pie crust. Adjust cooking times slightly if needed.
4. Can I add different vegetables?
Yes, mix in your favorite vegetables like mushrooms, bell peppers, or broccoli. Frozen vegetables work best for even cooking and convenience.
5. How do I reheat leftovers?
For best results, reheat in the oven at 350°F for 20–25 minutes. This keeps the crust crisp while warming the filling evenly. Avoid microwaving if possible, as it can make the crust soggy.
This recipe has been adapted and simplified from the original version by tastesbetterfromscratch. We’ve refined the steps for a smoother cooking experience and added helpful notes, nutrition insights, and essential kitchen tools to make it even easier for home cooks.