
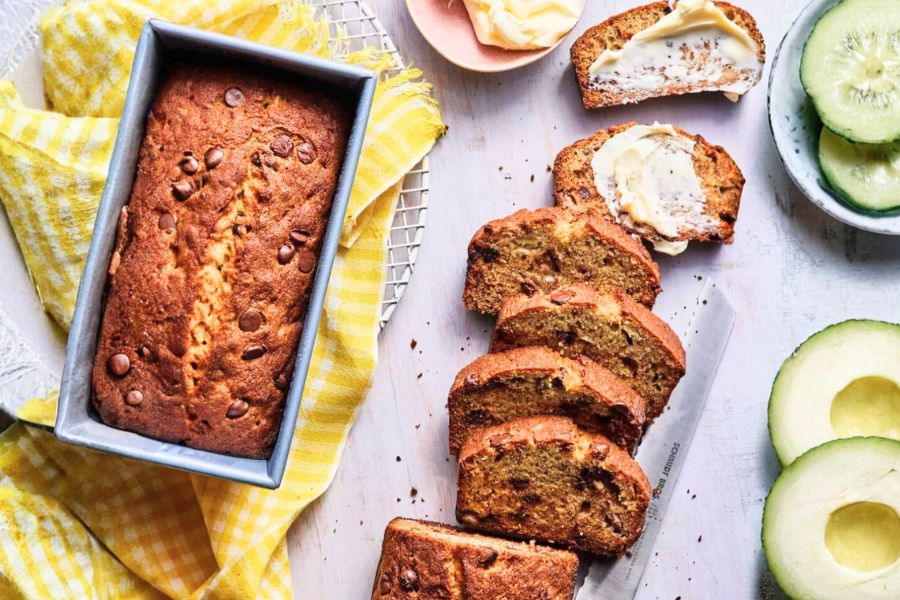
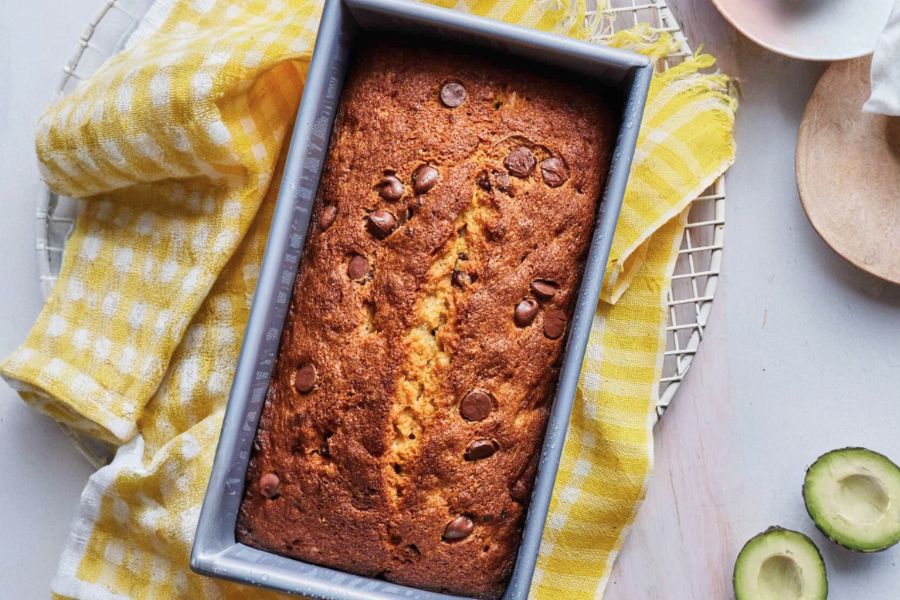
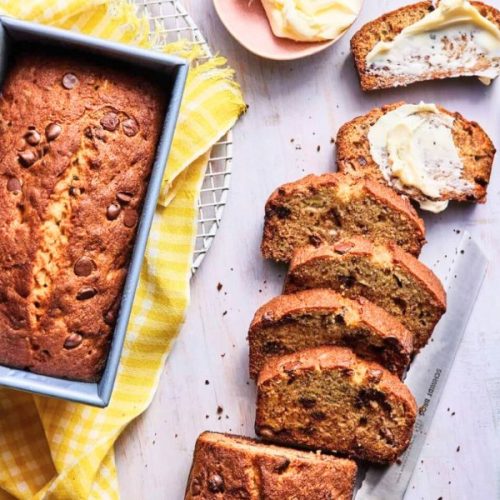
This Chocolate Chip Banana Bread recipe stands out for its perfect balance of moistness, sweetness, and rich banana flavor, enhanced by the delightful addition of chocolate chips.
It’s a crowd-pleaser that’s easy to make with simple, wholesome ingredients.
Beyond indulgence, it offers modest nutritional benefits—each slice provides a good source of energy from natural sugars and carbohydrates, along with some protein and fiber from the bananas and flour.
Although not low-carb, it incorporates healthy fats from unsalted butter and provides a comforting, satisfying treat.
This recipe is ideal for everyday cooking due to its straightforward process, minimal prep time, and adaptability for breakfast, snacks, or even dessert.
Plus, it’s a perfect candidate for meal prep or sharing, making your kitchen routine efficient and enjoyable.
Must-Have Tools for Perfect Results:
Stand Mixer
This tool makes creaming butter and sugar effortless, ensuring a smooth, fluffy batter. Its versatility extends beyond baking—perfect for whipping cream, kneading dough, or mixing batters.
Loaf Pans (8.5″Wx4.5″Dx2.75″H)
Essential for shaping the bread into perfect loaves with even baking. High-quality pans ensure heat distribution for golden crusts and moist interiors, a must-have for any baker.
Non-Stick Cooking Spray
Guarantees easy release of your banana bread from the pans without sticking, saving cleanup time. A kitchen staple for greasing bakeware and preventing food from adhering.
Rubber Spatula
Perfect for scraping down bowl sides to incorporate all ingredients fully, maximizing flavor and texture. This versatile tool is great for mixing, folding, and spreading in countless recipes.
Measuring Cups and Spoons
Precision is key in baking; these tools help ensure accurate ingredient amounts, producing consistent and reliable results every time.
Easy Chocolate Chip Banana Bread
Equipment
- 1 Stand Mixer
- 2 Loaf Pans, 8.5"Wx4.5"Dx2.75"H
- 1 Non-Stick Cooking Spray
- 1 Rubber spatula
- 1 Measuring cups and spoons
Ingredients
- ¾ cup unsalted butter softened to room temperature
- 1 ½ cups granulated white sugar
- 2 large eggs
- 4 teaspoons milk
- 4 ripe bananas mashed
- 2 cups all-purpose flour
- 1 teaspoon baking soda
- 1 cup semi-sweet chocolate chips plus extra for topping (optional)
Instructions
- Prepare Your Oven and Pans: Begin by preheating your oven to 350°F (175°C). Grease two standard loaf pans (approximately 8.5 inches wide by 4.5 inches deep by 2.75 inches tall) with a non-stick spray or butter to ensure the bread releases easily after baking.
- Cream Butter and Sugar: In a large mixing bowl or stand mixer, beat the softened butter and sugar together on medium speed for about two minutes. The mixture should become light, fluffy, and well combined, which will help create a tender crumb.
- Incorporate Eggs: Add the eggs one at a time, mixing well after each addition. Pause occasionally to scrape down the sides of the bowl to keep the batter smooth and consistent.
- Add Milk and Bananas: Pour in the milk and then add the mashed bananas. Stir these into the batter gently for about 30 seconds. The batter may look a bit curdled or uneven at this stage—that’s completely normal.
- Mix Dry Ingredients and Chocolate Chips: Sift together the flour and baking soda in a separate bowl. Gradually add this dry mixture to the wet ingredients, mixing just until the flour disappears. Be careful not to overmix to keep the bread tender. Fold in the chocolate chips evenly throughout the batter.
- Fill Pans and Bake: Divide the batter evenly between the two prepared loaf pans. If desired, sprinkle a few extra chocolate chips or coarse sugar on top for a crunchy finish. Place the pans in the preheated oven and bake for 45 to 55 minutes. Check doneness by inserting a toothpick or knife in the center—if it comes out clean, the bread is ready.
- Cool and Serve: Remove the pans from the oven and allow the banana bread to cool in the pans for at least 30 minutes. Once slightly cooled, gently run a knife along the edges and transfer the loaves onto a cooling rack before slicing and serving.
Notes
Chef’s Secrets for Moist Bread
Achieving perfectly moist banana bread starts with using overripe bananas—they add natural sweetness and keep the loaf tender.
When mixing your batter, avoid overworking the flour to prevent a dense, tough texture.
Creaming the butter and sugar thoroughly is key to a light crumb, so don’t rush this step.
Adding a small amount of milk balances the batter’s consistency and helps keep it soft. If you prefer a richer flavor, try browning the butter lightly before mixing—it adds a subtle nuttiness.
Lastly, resist the urge to open the oven door frequently during baking; this can cause uneven rising and dryness.
Using a toothpick test toward the end of baking ensures perfect doneness without overbaking.
Serving Suggestions to Impress Guests
This chocolate chip banana bread shines as a versatile treat that works well for breakfast, snacks, or dessert. Serve warm slices with a pat of butter or cream cheese for a creamy contrast.
For an indulgent twist, drizzle with honey or a drizzle of melted peanut butter.
It pairs beautifully with a hot cup of coffee or tea, making it ideal for cozy mornings or afternoon breaks.
For a festive touch, toast slices lightly and top with fresh berries or a dollop of whipped cream.
It also makes a thoughtful homemade gift or a simple addition to brunch spreads.
Storage Tips for Freshness
To keep your banana bread fresh and flavorful, allow it to cool completely before wrapping tightly in plastic wrap or storing in an airtight container.
At room temperature, it will stay moist for up to three days.
For longer storage, freeze individual slices or whole loaves wrapped in foil and placed in a freezer-safe bag—this preserves freshness for up to three months.
When ready to enjoy, thaw slices at room temperature or warm gently in a microwave or oven. Avoid refrigerating as this can dry out the bread faster.
Frequently Asked Questions Answered
1. Can I substitute ingredients?
Yes! You can swap all-purpose flour for whole wheat for added fiber, but the texture may be slightly denser. Use dairy-free milk to keep it vegan, though you may need to adjust moisture slightly.
2. Why is my banana bread dry?
Dry bread usually results from overbaking or not using ripe enough bananas. Check with a toothpick early and pull out as soon as it’s clean. Overmixing flour can also cause dryness.
3. Can I add nuts or other mix-ins?
Absolutely! Chopped walnuts, pecans, or even shredded coconut can add delightful texture. Add about ½ cup and fold them gently into the batter before baking.
4. How do I store leftover banana bread?
Wrap completely in plastic wrap or keep in an airtight container at room temperature for up to 3 days. For longer storage, freeze in airtight packaging.
This recipe has been adapted and simplified from the original version by whatsgabycooking. We’ve refined the steps for a smoother cooking experience and added helpful notes, nutrition insights, and essential kitchen tools to make it even easier for home cooks.