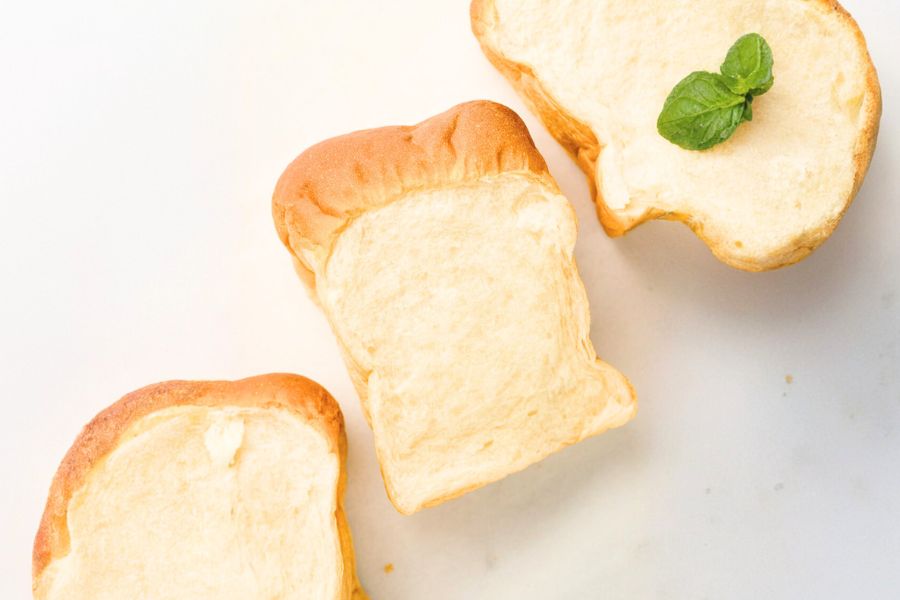
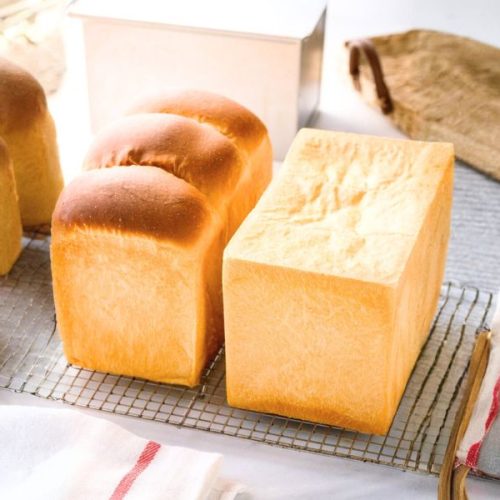
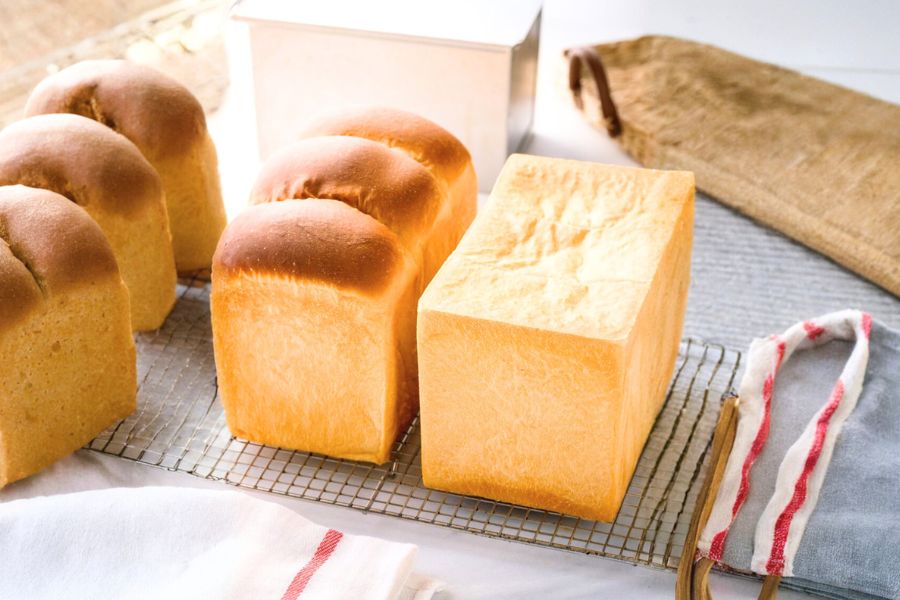
Japanese Milk Bread, or Shokupan, is beloved worldwide for its irresistibly soft, pillowy texture and subtly sweet, milky flavor.
This recipe achieves that perfect balance through a unique kneading technique and carefully measured ingredients, resulting in bread that’s tender yet elastic with a fine crumb.
While not specifically low-carb or high-fiber, this bread provides moderate protein and good energy from quality bread flour and dairy components, making it a satisfying everyday staple.
The use of dry milk powder adds richness and nutrition, while unsalted butter contributes healthy fats for a soft crust and enriched taste.
Perfect for breakfast toast or sandwiches, Shokupan offers a wholesome comfort food option that’s surprisingly easy to make at home with a bit of patience and the right tools.

Its long proofing time rewards bakers with tender crumb and excellent rise, making it ideal for meal prepping or sharing with family.
Must-Have Tools for Perfect Results
KitchenAid Stand Mixer with Dough Hook
This powerful mixer kneads the dough evenly and efficiently, saving hours of hand-kneading and delivering consistent texture. Its versatility makes it invaluable for all kinds of baking.
Digital Kitchen Scale
Precision is key in baking. A reliable kitchen scale ensures accurate measurements of flour, water, and other ingredients, critical for achieving the ideal dough consistency and rise.
Japanese Loaf Pan (Rectangular or Square)
Designed specifically for Shokupan, these pans provide perfect loaf shape and size, ensuring uniform baking and a beautiful crust. They’re great additions for any bread lover’s collection.
Dough Scraper
Essential for handling sticky dough, a dough scraper helps shape and divide the dough cleanly without tearing, making the process smoother and more efficient.
Pastry Brush
Used to butter the pan and glaze the loaf, it ensures an even coating for a golden crust and adds flavor and moisture to the finished bread.

Easy Milk Bread Every Time
Equipment
- 1 KitchenAid Stand Mixer (with dough hook attachment)
- 1 1Rectangular Japanese Loaf Pan (12 x 20 x 13 cm)
- 1 Digital kitchen scale
- 1 Dough Scraper
- 1 Pastry brush
Ingredients
- 250 g warm water approx. 40ºC/104ºF
- 20 g sugar
- 7 g kosher salt Diamond Crystal preferred
- 10 g honey
- 7 g instant yeast
- 350 g bread flour
- 20 g skim milk powder or nonfat dry milk powder
- 25 g unsalted butter room temperature
- ½ tsp neutral oil for greasing bowl
- 10 g unsalted butter room temperature, for greasing pan
Instructions
- Prepare Yeast Mixture: In a large bowl, combine warm water (about 40ºC/104ºF), sugar, kosher salt, and honey. Stir well to dissolve all the ingredients. Sprinkle instant yeast over the liquid mixture, whisk gently, and let it rest in a warm spot for 10 minutes until it becomes bubbly and foamy, indicating the yeast is active.
- Combine Dry Ingredients: In the bowl of your stand mixer, mix the bread flour and skim milk powder thoroughly to ensure even distribution. Create a shallow well in the center of the flour mixture where you will pour the yeast mixture shortly, facilitating an even initial mix.
- Mix Dough Base: Pour the foamy yeast mixture into the well in the flour bowl. Using a silicone spatula or dough scraper, fold the flour into the liquid gradually until just combined, ensuring no dry flour remains, forming a rough dough.
- Begin Kneading at Low Speed: Attach the dough hook to your stand mixer and knead the dough on Speed 2 for 2 minutes to start gluten development. This gentle start ensures all ingredients are well incorporated before more vigorous kneading begins.
- Increase Kneading Speed: Raise the mixer speed to 4 and continue kneading for 4 more minutes. The dough will become smoother but still slightly rough, preparing it for butter incorporation.
- Add Butter Cubes: Gradually add softened butter pieces to the dough while kneading at Speed 2. Knead for about 2 minutes until the butter is fully absorbed and no streaks remain, enriching the dough for softness and flavor.
- Knead at Medium Speed: Increase the speed again to 4 and knead for another 4 minutes. The dough will start to stretch and become more elastic, which is essential for the bread’s tender texture.
- Final Aggressive Kneading: Carefully increase the mixer speed to 6 and knead for 3 minutes while holding the mixer firmly to prevent movement. This aggressive kneading develops the gluten fully, giving the bread its signature soft, pillowy crumb.
- Perform Windowpane Test: Tear off a small piece of dough and stretch it gently with your fingers into a thin translucent membrane. If it stretches without tearing and light passes through, the dough is ready; if not, knead for another 2-3 minutes at Speed 6 and retest.
- Shape and Slam Dough: Lightly flour your work surface and hands. Turn the dough out and keep one smooth side facing down. Pick up the dough with the smooth side up, then slam it firmly onto the surface to develop strength, fold it over, and repeat this slam-and-fold process five times, keeping the smooth side up at all times.
- Oil the Proofing Bowl: Lightly grease the mixing bowl with neutral oil to prevent sticking. Place the shaped dough ball seam-side down into the bowl, cover tightly with plastic wrap, and prepare for bulk fermentation.
- Bulk Fermentation: Place the dough in a warm, humid environment (around 38ºC/100ºF) to rise. Let it ferment undisturbed for about 40 minutes or until it has tripled in size, ensuring the dough is fully proofed and airy.
- Test Dough Readiness: Dust flour lightly on the dough’s surface. Using your index finger, gently press the dough’s center. If the indentation remains and doesn’t spring back, the dough is ready for shaping. If it bounces back quickly, give it more time to proof.
- Deflate and Shape Dough: Gently turn the dough out onto a floured surface and press down softly to release excess air. Fold the edges into the center, flip it over, and shape into a smooth, round ball with tension on the surface by pulling the dough gently toward the bottom.
- Divide Dough: Weigh the dough and divide it into three equal portions for a rectangular loaf. If pieces vary, adjust by pinching smaller or larger portions to balance. Each piece should have a taut, smooth surface for even rising.
- Rest Dough Balls: Cover the dough balls with a damp cloth and let them rest for 15 minutes. This bench rest relaxes the gluten, making the dough easier to roll and shape.
- Prepare Loaf Pan: Using a pastry brush, coat the loaf pan and its lid (if using) with softened butter. This will prevent sticking and give the bread a flavorful, golden crust.
- Roll and Shape Each Dough Ball: Lightly dust a dough ball with flour to prevent sticking. Roll it out gently into a rectangle, folding in the corners and rolling evenly to maintain shape. Roll the dough toward you and away, turning as needed, until it forms a uniform rectangle.
- Arrange in Loaf Pan: Place the rolled dough pieces seam-side down into the prepared loaf pan side by side, ensuring they are evenly spaced. Cover the pan with a kitchen towel or plastic wrap and set aside for final proofing.
- Final Proofing: Let the dough rise in a warm spot for 45 minutes to 1 hour until it almost doubles in size and crowns just above the pan edges, ensuring a soft, lofty crumb after baking.
- Bake the Bread: Preheat your oven to 180ºC (350ºF). Bake the loaf on a lower-middle rack for 30 minutes, adjusting rack height to prevent excessive browning on top. The bread should turn golden brown and sound hollow when tapped.
- Cool Before Slicing: Remove the loaf from the oven and pan, placing it on a wire rack to cool completely. Cooling prevents sogginess and helps the bread set for clean slicing and best texture.
Notes
- Use fresh yeast (less than 6 months old) to ensure proper rising and avoid dense bread.
- Precise ingredient measurements by weight are critical for consistent results; avoid volume measurements.
- Maintain dough temperature around 26–28ºC during kneading for optimal yeast activity.
- Avoid adding too much flour when handling dough; slight stickiness improves texture and rise.
- If you don’t have a stand mixer, hand knead vigorously for 15–20 minutes to develop gluten well.
- Use a digital thermometer to check dough temperature if unsure for best proofing conditions.
- Allow bread to cool fully before slicing to preserve crumb structure and prevent tearing.
Chef’s Secrets to Perfect Bread
Achieving soft, pillowy bread starts with precise temperature control and proper kneading techniques.
Use warm water at around 40ºC to activate the yeast without killing it, and never rush the kneading process—this develops the gluten structure essential for the bread’s light, airy texture.
The “slam and fold” step is crucial; it builds dough strength and elasticity, resulting in a tender crumb that pulls apart easily.
Also, incorporating softened butter gradually ensures even richness without weighing down the dough.
Don’t underestimate the power of a warm, humid proofing environment—this accelerates yeast activity and guarantees a good rise.
Lastly, always let your bread cool completely before slicing, which helps set the crumb and prevents a gummy texture.
With these insider tips, even novice bakers can achieve bakery-quality results at home.
Serving Suggestions for Bread Enjoyment
This bread’s soft texture and buttery flavor make it incredibly versatile.
Serve thick slices toasted with creamy avocado and a sprinkle of chili flakes for a satisfying breakfast or spread with nut butter and fresh fruit preserves for a quick snack.
It’s also excellent as a base for gourmet sandwiches—think roasted vegetables and herbed cream cheese or classic ham and Swiss with Dijon mustard.
For dinner, pair warm slices with hearty soups or stews; the bread’s tender crumb soaks up broth beautifully. A drizzle of honey or a light smear of ricotta adds a delightful touch for a simple yet elegant appetizer.
The mild flavor profile complements both sweet and savory pairings, making it a staple in any kitchen.
Storage Tips for Freshness Longevity
To keep your bread fresh and soft, store it at room temperature in a breathable cotton or linen bag rather than plastic, which traps moisture and encourages mold.
If you won’t consume it within 2 days, slice the loaf and freeze individual portions in airtight bags.
This allows you to thaw or toast just what you need, preserving freshness without waste.
Avoid refrigeration, as it accelerates staling.
When freezing, wrap slices in parchment paper before placing them in freezer bags to prevent freezer burn and maintain texture.
To revive slightly stale bread, lightly sprinkle water on the crust and warm it in a preheated oven at 160ºC (320ºF) for 5–10 minutes—this will refresh the crust and soften the crumb.
Frequently Asked Questions Answered Clearly
Q1: Can I substitute whole wheat flour?
Yes, but use up to 25% whole wheat flour mixed with bread flour for best results. Whole wheat absorbs more water and makes denser bread, so you may need to increase hydration slightly.
Q2: How do I know if the yeast is still active?
Proof the yeast by dissolving it in warm water with sugar. If it becomes bubbly and frothy within 10 minutes, it’s active. If not, use fresh yeast for reliable rising.
Q3: What if my dough is too sticky to handle?
A slightly sticky dough is ideal for softness, but if it’s excessively wet, add flour gradually in small amounts. Avoid over-flouring, which can lead to a tough crumb.
Q4: Can I make this bread without a stand mixer?
Absolutely! Knead the dough by hand for 15–20 minutes on a lightly floured surface until it’s smooth and elastic. It’s a great workout and yields equally delicious bread.
Q5: How do I store leftover bread?
Keep leftover bread at room temperature in a cloth bag for 2 days or freeze sliced portions in airtight bags for longer storage. Avoid refrigerating, as it dries bread out faster.
This recipe has been adapted and simplified from the original version by justonecookbook. We’ve refined the steps for a smoother cooking experience and added helpful notes, nutrition insights, and essential kitchen tools to make it even easier for home cooks.

