
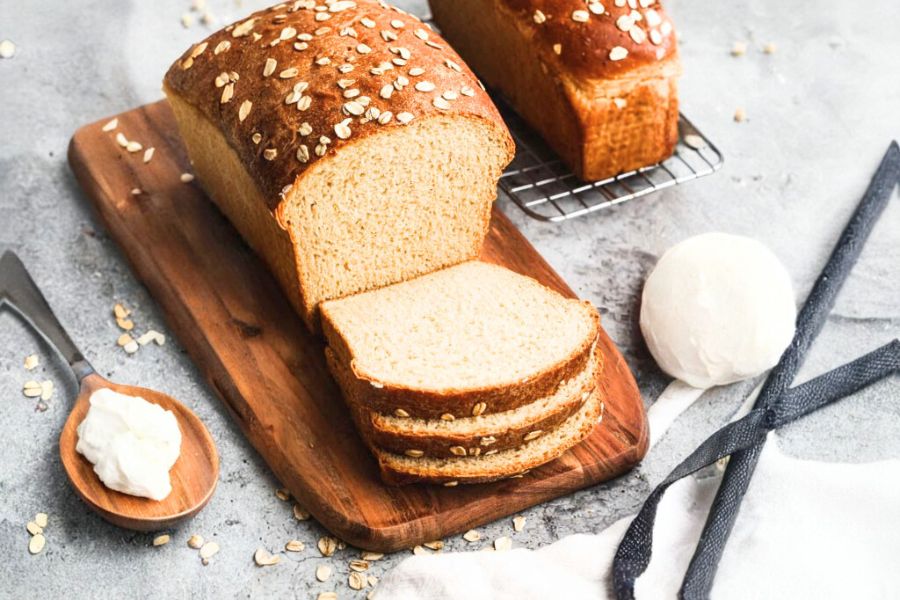
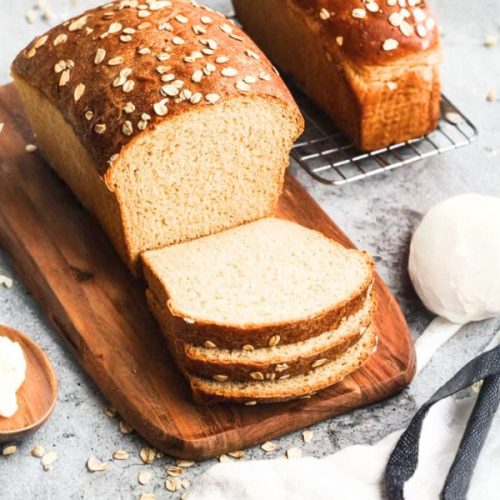
This Light and Fluffy Oatmeal Bread is a wholesome, homemade favorite that strikes the perfect balance between hearty and soft.
Made with rolled oats, honey, and a blend of whole wheat and all-purpose flours, it offers a naturally sweet, nutty flavor while staying moist and tender.
What makes this bread truly special is its combination of health benefits and comforting texture—each slice provides a good source of fiber to support digestion, plant-based protein from oats and wheat, and heart-healthy fats from butter.
With only 158 calories per serving, it’s a lighter alternative to store-bought breads that are often packed with additives.
This recipe is also incredibly versatile, pairing beautifully with breakfast spreads, hearty soups, or as the base for sandwiches.
It’s beginner-friendly, requiring simple ingredients and minimal hands-on time, making it ideal for everyday baking or weekend meal prep.
Plus, it freezes well, ensuring you can always have fresh, homemade bread on hand without the daily hassle.
Must-Have Tools for Perfect Results
USA Pan Loaf Pan
Ensures even baking and perfect loaf shape, with a non-stick surface for easy release. A staple for homemade bread enthusiasts.
Bosch Universal Plus Mixer
Handles heavy dough effortlessly, saving time and energy while ensuring consistent kneading. A must-have for any frequent baker.
ThermoPro Instant Read Thermometer
Accurately checks bread doneness (200°F) to avoid under- or overbaking. Essential for perfectly baked loaves and other meats or baked goods.
OXO Silicone Spatula
Helps scrape every bit of dough cleanly from the bowl without sticking. A versatile tool for baking and cooking prep.
Pyrex Glass Measuring Cup
Ideal for heating and pouring milk safely, plus accurate measurement for liquids in countless other recipes.
Nutritious Oatmeal Bread
Equipment
- 2 Loaf Pans
- 1 Bosch Mixer or Stand Mixer
- 1 Mixing Bowl
- 1 Thermometer (Instant Read)
- 1 Silicone Spatula
- 1 Measuring Cups & Spoons
Ingredients
- 2 cups 480 ml whole milk, heated just to a gentle simmer
- 1 cup 90 g old-fashioned rolled oats (avoid quick or instant oats for best texture)
- 4 tablespoons 56 g unsalted butter, softened to room temperature
- ½ cup 120 ml honey, preferably raw or pure for natural sweetness
- 4 ½ teaspoons 14 g instant yeast
- ½ cup 120 ml warm water, around 110°F (43°C)
- 1 ½ teaspoons kosher salt
- 2 ½ cups 300 g whole wheat flour
- 2 ¼ to 3 cups 270–360 g all-purpose flour, added gradually until dough is soft but not sticky
- 1 egg white whisked with 1 tablespoon water (for egg wash)
- Optional topping: a handful of dry rolled oats for garnish
Instructions
- Prep the Oat Mixture: Place the rolled oats and softened butter in the bowl of a stand mixer or a large mixing bowl. Warm the milk until it just reaches a light simmer, then pour it over the oats and butter. Stir well to combine, allowing the heat to soften the oats. Set aside and let this mixture rest for about 1 to 1½ hours, or until it cools to room temperature.
- Activate and Combine Ingredients: Once the oat mixture has cooled, add the honey, warm water, instant yeast, and salt. Mix well until everything is evenly combined and slightly frothy. This will help activate the yeast and give the bread its perfect rise.
- Build the Dough: Add the whole wheat flour and begin mixing on a low speed (or by hand) until incorporated. Gradually add all-purpose flour, a little at a time, just until the dough starts pulling away from the bowl and feels soft, elastic, and only slightly tacky. Avoid adding too much flour to keep the bread fluffy. Knead for 4–5 minutes in a stand mixer or 8–10 minutes by hand until smooth and stretchy.
- First Rise (Bulk Fermentation): Lightly grease a clean bowl with butter or oil. Place the dough inside, turning it once to coat. Cover with a clean kitchen towel or plastic wrap and set it in a warm, draft-free spot to rise for about 1 hour, or until it doubles in size.
- Shape and Prepare Loaves: Punch down the risen dough to release air bubbles, then divide it evenly into two portions. Shape each into a loaf and transfer to greased loaf pans. Brush the tops with the prepared egg wash for a golden crust and sprinkle a few dry oats on top for a rustic finish.
- Second Rise: Cover the pans loosely with greased plastic wrap and let them rise again in a warm area for 45–60 minutes, or until the dough rises about 1 inch above the rim of the pans.
- Bake to Perfection: Preheat the oven to 350°F (175°C). Bake the loaves for 30–40 minutes, or until they sound hollow when tapped or an instant-read thermometer inserted into the center reads 200°F (93°C). Allow the bread to cool for 15 minutes in the pans before transferring to a wire rack to cool completely.
Notes
- Flour Amounts Vary: Humidity and flour brand affect dough texture. Add flour gradually and stop once the dough feels soft, elastic, and only slightly sticky.
- Yeast Substitute: Active dry yeast can be used in the same amount but should be dissolved in warm water with a pinch of sugar for 5–10 minutes before adding.
- Flavor Boosters: Add 1 cup of raisins, chopped nuts, or dried fruit after the first rise for extra texture and sweetness.
- Make-Ahead Option: Dough can be made ahead, refrigerated overnight, and baked the next day.
- Freezer-Friendly: Freeze dough after shaping (before second rise) or freeze fully baked and cooled loaves for up to 3 months.
- Dairy-Free Variation: Swap milk for almond or oat milk, butter for plant-based margarine, and skip the egg wash for a vegan-friendly loaf.
Chef’s Secrets for Fluffy Oatmeal Bread
The secret to making truly soft, bakery-quality oatmeal bread lies in giving your dough the right amount of time to rest and rise.
Letting the oats soak in warm milk not only softens them but also adds moisture that keeps the bread tender.
When adding flour, less is more—stop once the dough feels soft and only slightly tacky. Overloading flour makes bread dense instead of airy.
Another tip is to knead thoroughly until the dough feels elastic; this develops gluten, giving you that perfect chewy structure.
Lastly, don’t skip the second rise, as it gives the bread its signature light texture and a beautifully rounded top when baked.
Using an instant-read thermometer ensures you never under- or over-bake your loaves, locking in softness every time.
Serving Suggestions for Any Occasion
Oatmeal bread is incredibly versatile, making it a wonderful addition to breakfast, lunch, or dinner.
For a cozy morning meal, serve slices warm with butter, honey, or fruit preserves.
It makes a hearty base for avocado toast or a wholesome alternative to white bread for sandwiches.
Pair it with soups, stews, or salads for a comforting, homemade touch to your dinner table.
For a sweet treat, lightly toast and top with almond butter, cinnamon, and banana slices.
This bread also works beautifully for French toast or bread pudding, thanks to its soft texture and subtle sweetness.
Storage Tips to Keep Bread Fresh
Homemade bread is best enjoyed fresh, but with proper storage, you can keep it soft for days.
Once completely cooled, wrap the loaves tightly in plastic wrap or store them in an airtight container at room temperature for up to 3 days. Avoid refrigeration, as it tends to dry bread out faster.
For long-term storage, freeze whole loaves or individual slices in freezer-safe bags for up to 3 months.
To enjoy frozen bread, thaw at room temperature or reheat slices in a toaster or warm oven for a fresh-baked taste.
If you’ve made the dough ahead, it can be refrigerated overnight before baking or frozen before the second rise for convenient, ready-to-bake loaves.
Frequently Asked Questions About This Recipe
1. Can I use quick oats instead of rolled oats?
Quick oats can be used, but they will make the bread slightly denser and less chewy. Rolled oats provide the best structure and texture for this recipe.
2. What can I substitute for honey?
Maple syrup or agave nectar can replace honey in equal amounts, offering a slightly different flavor but similar sweetness and moisture.
3. How do I know if my dough has risen enough?
The dough is ready if it has doubled in size and slowly springs back when pressed with your fingertip. Over-proofing can cause loaves to collapse during baking.
4. Can I make this recipe vegan?
Yes! Use almond or oat milk, plant-based butter, and skip the egg wash or use a dairy-free alternative like oat milk for brushing the top.
5. Why is my bread dense or heavy?
Too much flour or insufficient kneading can make bread dense. Ensure the dough remains soft, knead until elastic, and allow it to rise fully for a light, airy loaf.
This recipe has been adapted and simplified from the original version by tastesbetterfromscratch. We’ve refined the steps for a smoother cooking experience and added helpful notes, nutrition insights, and essential kitchen tools to make it even easier for home cooks.