
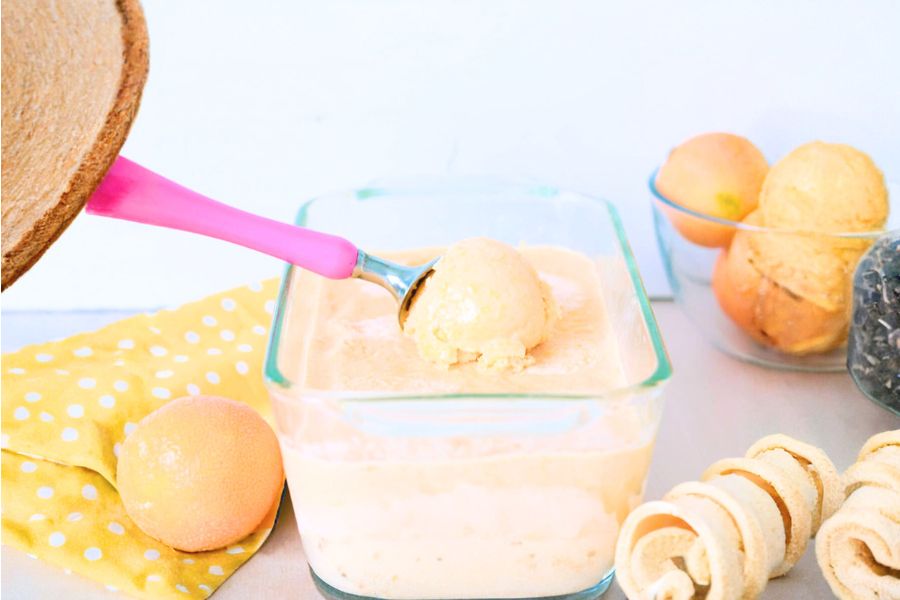
This Orange Creamsicle Ice Cream transforms the nostalgic flavor of a classic creamsicle into a wholesome, plant-based dessert.
Its appeal lies in the perfect balance of tangy oranges and creamy coconut milk, resulting in a refreshingly smooth treat that’s naturally sweetened without refined sugar.
Beyond taste, this recipe packs nutritional benefits: full-fat coconut milk delivers healthy fats that support brain and heart health, while fresh oranges provide fiber, vitamin C, and antioxidants to boost immunity.
Light yet satisfying, this no-churn ice cream is incredibly easy to prepare, making it a convenient option for busy weekdays, last-minute desserts, or meal prep for sweet cravings.
With minimal ingredients and simple steps, it’s ideal for home cooks looking for a fast, nutritious, and delicious way to enjoy a plant-based dessert.
Must-Have Tools for Perfect Results
High-Speed Blender
Essential for blending the frozen oranges with coconut milk into a smooth, creamy texture. Beyond this recipe, it’s perfect for smoothies, nut butters, and pureed soups.
Freezer-Safe Container with Lid
Keeps your ice cream fresh and prevents freezer burn. Great for storing leftovers, meal prep, and other frozen treats.
Citrus Juicer or Reamer
Makes peeling and sectioning oranges easier and ensures maximum juice extraction. Handy for fresh juices, marinades, and salad dressings.
Spatula
Ideal for scraping every bit of mixture from the blender into your container. Also useful for folding ingredients, spreading batters, and scraping bowls.
Tray or Baking Sheet
Freezes orange slices evenly before blending, ensuring smooth texture. Can also be used for roasting, baking, and chilling other foods.
Refreshing Orange Creamsicle Ice Cream
Equipment
- 1 high-speed blender
- 1 freezer-safe container with lid
- 1 Citrus Juicer or Reamer
- 1 Spatula
- 1 tray or baking sheet
Ingredients
- 1 ¾ cups coconut milk canned, full-fat
- 2 medium oranges navel
- 4 tablespoons honey or maple syrup or confectioners sugar
- 1 teaspoon vanilla extract
Instructions
- Prepare the Oranges: Begin by carefully peeling your oranges. Remove all traces of the white pith to avoid any bitterness. Once peeled, separate each orange into individual sections or segments. Take a moment to admire the vibrant orange color—it’s a sign of fresh flavor and high vitamin C content. Arrange the segments evenly on a tray or baking sheet, making sure they are not piled on top of each other. This will allow them to freeze uniformly, ensuring a smooth texture in your final ice cream. Place the tray in the freezer and let the oranges chill until fully hardened, which typically takes about an hour.
- Blend the Base: Once your orange segments are frozen solid, pour the full-fat canned coconut milk into a high-speed blender or food processor. Add half of the frozen orange segments to the blender. The combination of frozen fruit and creamy coconut milk will begin to form the luscious, smooth base for your ice cream. Blend on high speed until the mixture is completely smooth, with no chunks remaining. Scrape down the sides of the blender as needed to ensure even blending.
- Incorporate Sweetener and Flavor: Add the remaining frozen orange segments to the blender. Next, include your sweetener of choice—whether it’s honey, maple syrup, or confectioners sugar—along with the teaspoon of vanilla extract. Blend again until everything is fully combined, creating a creamy, luscious mixture that perfectly balances the tanginess of the oranges with the natural sweetness. Taste the mixture and adjust sweetness if necessary, blending briefly to incorporate any additions.
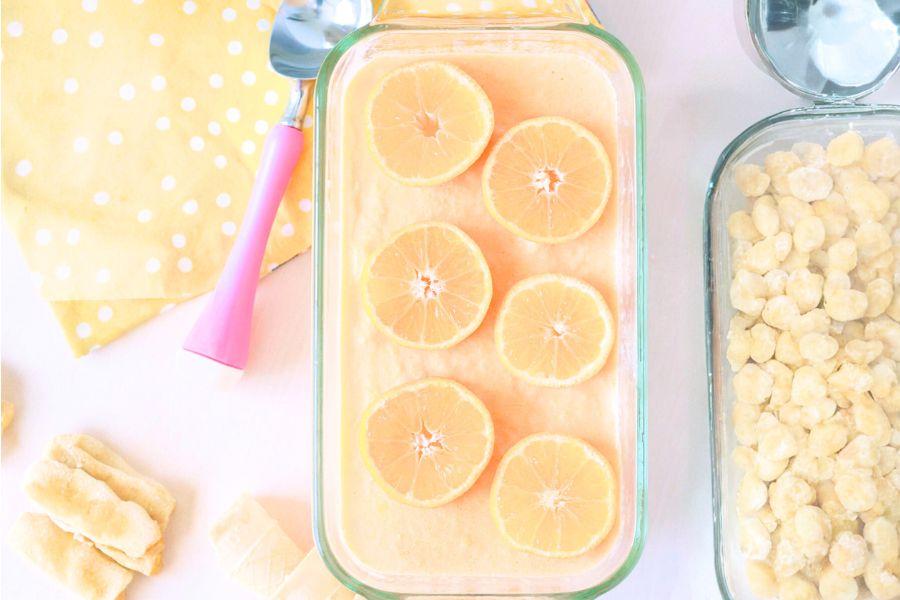
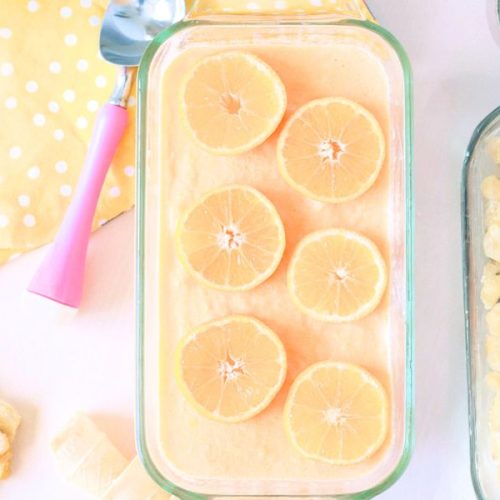
- Transfer to Freezer Container: Carefully pour the blended mixture into a freezer-safe container with a tight-fitting lid. Use a spatula to scrape every bit of the creamy mixture from the blender, ensuring nothing goes to waste. Smooth the top gently with the spatula to create an even surface, which will make scooping easier later.Seal the container tightly to prevent any air from getting in, which could cause ice crystals to form.
- Freeze Until Solid: Place the container in the freezer for at least two hours or until the ice cream is firm to the touch. This waiting period allows the flavors to meld and the texture to set perfectly. For best results, avoid opening the freezer frequently during this time, as temperature fluctuations can affect consistency.
- Serve and Enjoy: When ready to enjoy, remove the ice cream from the freezer and let it sit at room temperature for a few minutes.This softens it slightly, making it easier to scoop. Use a pre-warmed ice cream scooper or spoon to create generous servings.For a beautiful presentation, garnish with a few orange slices, a drizzle of honey, or a sprinkle of citrus zest.Serve immediately and savor the refreshing, creamy, naturally sweet flavor reminiscent of a classic orange creamsicle.
Notes
- For best texture, use full-fat canned coconut milk; low-fat versions may result in icier ice cream.
- Freeze orange segments flat and separated to avoid clumping and ensure smooth blending.
- Adjust sweetness according to your taste; natural sweeteners like honey or maple syrup are ideal.
- Soft-serve variation: Blend and enjoy immediately for a creamy, smoothie-like treat.
- For a more intense orange flavor, add a teaspoon of orange zest during blending.
- Always use a high-speed blender to achieve the smoothest texture.
Chef’s Secrets For Creamy Success
Achieving the perfect creamy texture relies on the combination of frozen fruit and full-fat coconut milk.
Make sure your oranges are fully frozen before blending; this prevents a runny consistency and ensures smoothness.
Using a high-speed blender or food processor is crucial—it incorporates air into the mixture, giving your ice cream a light, luscious texture without traditional churning.
If you prefer a slightly sweeter flavor, adding a natural sweetener gradually during blending allows you to control the taste while maintaining a healthy profile.
Finally, scraping the sides of the blender while mixing ensures no chunks remain, resulting in a perfectly uniform ice cream every time.
Serving Suggestions To Impress Guests
This vibrant orange ice cream pairs beautifully with fresh fruit or a drizzle of chocolate or caramel sauce.
For a tropical twist, top with toasted coconut flakes or crushed nuts for added texture and flavor.
It can also complement a light citrus tart or almond biscotti, offering a refreshing balance to rich desserts.
Serve in chilled bowls or waffle cones for a visually appealing presentation, and consider garnishing with a small mint leaf for a pop of color.
Its creamy, fruity flavor makes it ideal for family gatherings, summer parties, or even as a sophisticated dessert for dinner guests.
Storage Tips To Keep Perfect
Store your ice cream in a freezer-safe container with a tight-fitting lid to prevent ice crystals and maintain smooth texture.
For longer storage, place a layer of parchment paper directly on the surface before sealing to avoid freezer burn.
Keep your freezer temperature stable, ideally at 0°F (-18°C).
When serving, allow the ice cream to soften at room temperature for 3–5 minutes for easier scooping.
If ice crystals do form, a quick stir with a spatula can help restore creaminess. Proper storage ensures your homemade ice cream stays delicious for up to 2 weeks.
Common Questions Answered Clearly
1. Can I use other types of oranges?
Yes, blood oranges or Cara Cara oranges can be used for a different flavor profile. Just ensure they are fully ripe for maximum sweetness.
2. Can I make this recipe sugar-free?
Absolutely! You can use a natural sugar substitute like stevia or monk fruit sweetener. Adjust the quantity to taste, as some alternatives are much sweeter than honey or maple syrup.
3. How do I prevent ice crystals from forming?
Ensure oranges are frozen flat and blended thoroughly with full-fat coconut milk. Store in an airtight container, and avoid frequent temperature changes in the freezer.
4. Can I double this recipe?
Yes, double the ingredients and use a larger freezer-safe container. Make sure your blender or food processor can handle the increased volume, or blend in batches for best results.
5. Is this recipe vegan and dairy-free?
Yes! Using coconut milk and plant-based sweeteners makes this dessert completely vegan and lactose-free, while still creamy and satisfying.
This recipe has been adapted and simplified from the original version by superhealthykids. We’ve refined the steps for a smoother cooking experience and added helpful notes, nutrition insights, and essential kitchen tools to make it even easier for home cooks.