
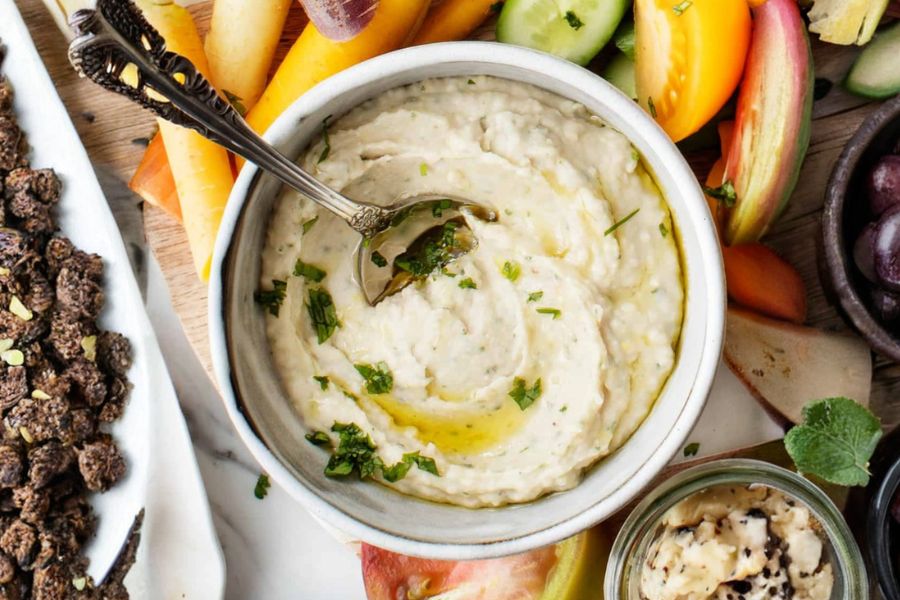
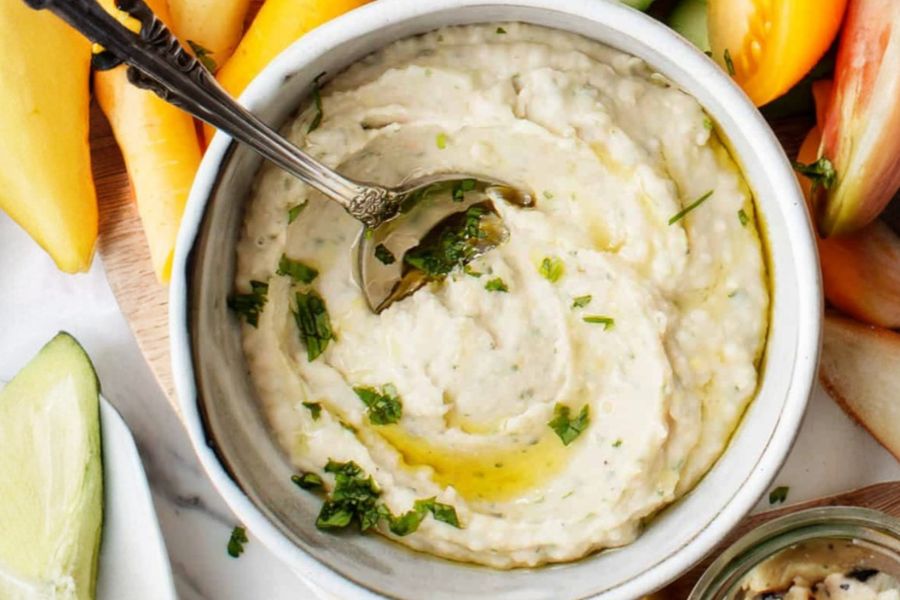
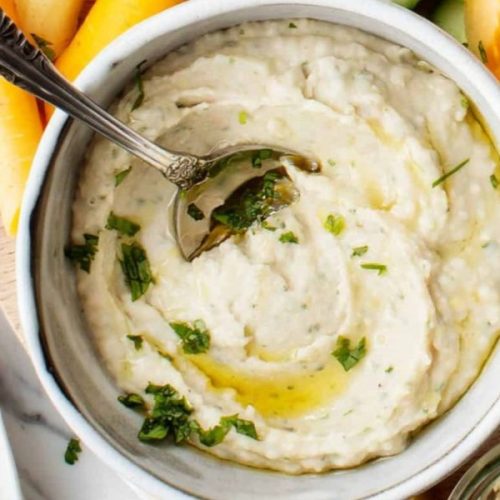
This White Bean Dip is a standout appetizer and snack thanks to its creamy texture, fresh citrusy zing, and herbaceous notes.
It’s as nutritious as it is flavorful: cannellini beans provide plant-based protein and dietary fiber, helping you stay full and support digestion, while olive oil contributes heart-healthy monounsaturated fats.
Low in saturated fat and carbs, this dip makes a guilt-free snack or party treat.
Its simplicity is a major appeal—ready in just five minutes with minimal ingredients, it’s ideal for quick weekday snacks, easy meal prep, or entertaining guests.
The addition of fresh herbs like basil or rosemary elevates the flavor, creating a versatile dip that pairs effortlessly with vegetables, crackers, or pita chips, making it a smart, everyday kitchen staple.
Must-Have Tools for Perfect Results
Food Processor
Achieve a perfectly smooth, creamy dip in seconds. Beyond this recipe, it’s indispensable for making nut butters, hummus, sauces, and even pie dough effortlessly.
Measuring Cups and Spoons
Ensure precise ingredient portions for balanced flavor and nutrition. These are essential for any home cook striving for consistency.
Citrus Zester or Microplane
Adds bright lemon zest to the dip, enhancing flavor without extra calories. Great for zesting fruits, grating cheese, or spices.
Mixing Spoon or Spatula
Helps scrape down the sides of the processor for even blending. Versatile for stirring, folding, and serving a wide range of dishes.
Small Knife
Ideal for mincing garlic and chopping fresh herbs. A sharp, reliable knife makes prep faster, safer, and more precise.
5-Minute White Bean Dip
Equipment
- 1 Food Processor
- 1 Citrus Zester
- 1 Knife,
- 1 Mixing Spoon,
- Measuring cups and spoons
Ingredients
- 1½ cups cannellini beans cooked, drained, and rinsed
- 2 tablespoons extra-virgin olive oil
- 2 tablespoons fresh lemon juice
- ½ teaspoon lemon zest
- 1 small garlic clove
- ½ teaspoon sea salt
- Freshly ground black pepper to taste
- 2 –4 tablespoons water if needed
Optional herbs:
- 2 tablespoons fresh basil torn
- 2 teaspoons fresh rosemary chopped
Instructions
- Prepare the Ingredients: Begin by gathering and prepping all your ingredients. Drain and rinse the cannellini beans thoroughly to remove excess sodium if using canned beans, peel and finely mince the garlic, zest and juice the lemon, and measure out olive oil, salt, and pepper. If using fresh herbs like basil or rosemary, gently tear or chop them to release their aromatic oils. Having everything ready ensures a smooth, efficient blending process.
- Blend the Base: Add the cannellini beans, minced garlic, olive oil, fresh lemon juice, lemon zest, sea salt, and a few grinds of black pepper to your food processor. Pulse the mixture in short bursts to combine the ingredients initially, then process continuously until a creamy, smooth texture forms. Scrape down the sides of the bowl with a spatula as needed to ensure even blending and a perfectly uniform dip.
- Adjust Texture and Seasoning: If the dip appears too thick or stiff, slowly add 2 to 4 tablespoons of water while the processor is running until you reach your desired consistency. Taste the dip carefully and adjust seasoning by adding more salt, pepper, or lemon juice to brighten the flavor. Blend in the optional herbs like torn basil or chopped rosemary at the end, pulsing just enough to incorporate without losing their fresh aroma.
- Serve and Enjoy: Transfer the finished dip to a serving bowl and smooth the top with a spatula for an appealing presentation. Serve immediately with fresh vegetable sticks, pita chips, or crackers for a wholesome snack, or refrigerate for later use—this dip keeps well for several days and maintains its creamy texture. Garnish with an extra drizzle of olive oil or a sprinkle of fresh herbs for a visually appealing touch.
Notes
- Use canned cannellini beans for convenience, but rinse well to reduce sodium.
- Adjust water gradually to achieve the desired creamy texture.
- Fresh herbs are optional but add a fragrant, flavorful touch.
- Lemon juice can be substituted with lime juice for a different citrus twist.
- Serve immediately for best flavor, or refrigerate for later use.
Chef’s Secrets For Maximum Flavor
To elevate this simple white bean dip, always start with fresh, high-quality ingredients.
Rinsing canned beans removes excess sodium and enhances the natural bean flavor.
Gently zest the lemon before juicing it to capture the essential oils in the rind, adding brightness to every bite.
If blending seems too thick, add water gradually to maintain a silky, spreadable consistency.
For an herbal boost, fold in torn basil or chopped rosemary at the very end—this preserves their aroma and prevents them from turning bitter in the processor.
Serving Suggestions For Every Occasion
This dip is incredibly versatile. Serve it with crunchy vegetable sticks like carrots, cucumber, or bell peppers for a healthy snack.
Pair it with warm pita bread or crackers for a casual appetizer.
It also works beautifully as a sandwich spread or a topping for grain bowls, roasted vegetables, or grilled proteins.
Adding a drizzle of extra virgin olive oil or a sprinkle of paprika just before serving makes it visually appealing and enhances the flavor.
Storage Tips For Freshness Maintenance
Store the white bean dip in an airtight container in the refrigerator for up to 4–5 days.
Stir well before serving, as natural separation may occur.
For longer storage, it can be frozen for up to one month; thaw overnight in the fridge and re-blend to restore creaminess.
Avoid adding herbs until just before serving if freezing, as they may lose their vibrant flavor.
Proper storage ensures both taste and texture remain at their best.
Frequently Asked Questions Answered
1. Can I use other beans instead?
Yes! Great alternatives include navy beans, great northern beans, or chickpeas. Each offers a slightly different flavor and texture but retains the creamy, protein-rich profile.
2. Is this dip vegan and gluten-free?
Absolutely. All ingredients are plant-based and naturally gluten-free, making it suitable for a variety of diets.
3. Can I make this ahead of time?
Yes, you can prepare the dip a day ahead. Store in an airtight container in the fridge and stir before serving. Add fresh herbs just before serving for maximum flavor.
4. How can I adjust the thickness?
Control consistency by gradually adding water while blending. For a thicker dip, use less water; for a creamier, spreadable texture, add more.
5. What pairs well with this dip?
It pairs perfectly with fresh veggies, pita bread, crackers, or as a spread on sandwiches, wraps, or grain bowls. A drizzle of olive oil or sprinkle of paprika enhances flavor.
This recipe has been adapted and simplified from the original version by loveandlemons. We’ve refined the steps for a smoother cooking experience and added helpful notes, nutrition insights, and essential kitchen tools to make it even easier for home cooks.