
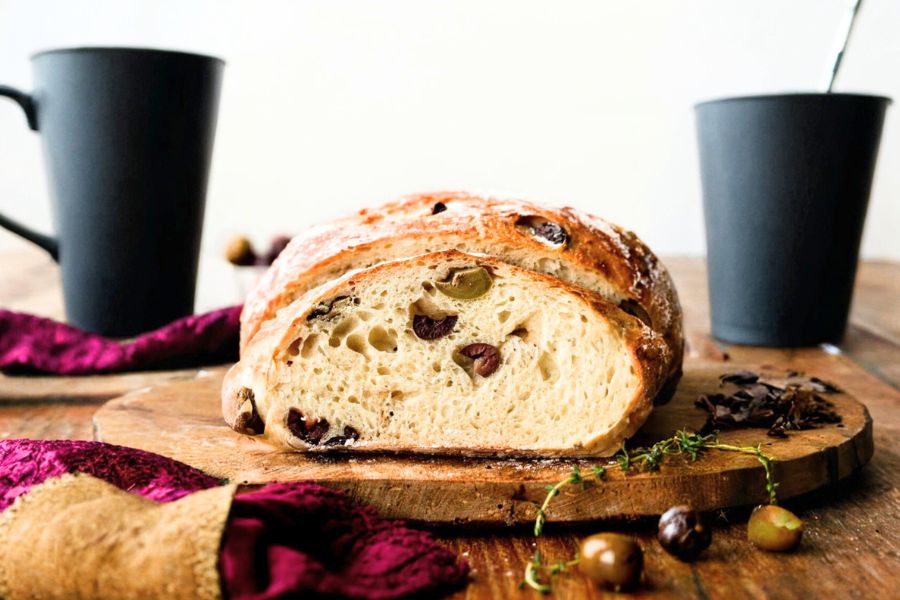
This Easy No-Knead Olive Bread is a perfect blend of simplicity and flavor, ideal for home bakers of all skill levels.
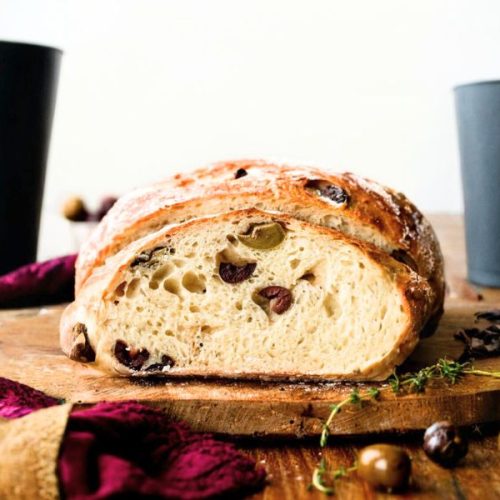
What makes this recipe stand out is its effortless preparation—no kneading required—allowing the yeast and time to do the heavy lifting, resulting in a loaf with a crisp crust and tender, airy crumb.
The addition of briny olives, fragrant oregano, and garlic powder gives the bread a savory, Mediterranean flair that elevates any meal or snack.
Nutritionally, it’s a wholesome choice made with bread flour that delivers protein and complex carbs, alongside heart-healthy fats from olives.
Low in saturated fat and rich in fiber, this bread fits well into balanced diets. Its long refrigerated fermentation not only enhances flavor but also makes it meal-prep friendly, perfect for busy lifestyles craving fresh homemade bread without fuss.
Must-Have Tools for Perfect Results:
Glass Mixing Bowls
Ideal for combining ingredients without reacting to acidic elements; their transparency helps monitor dough consistency. Versatile and durable, they’re a kitchen staple for baking and everyday cooking.
Wooden Spoon or Silicone Spatula
Perfect for mixing sticky dough by hand without overworking it. Silicone spatulas are heat-resistant and easy to clean, while wooden spoons offer natural durability and comfort.
Nonstick Baking Sheet
Ensures the loaf bakes evenly without sticking, promoting a crisp crust. A high-quality sheet is essential for roasting, baking, and more.
Bread Lame
This specialized tool scores the dough, allowing steam to escape and guiding bread expansion. Using a lame elevates homemade bread to bakery-quality crust and appearance.
Instant-Read Thermometer
Accurate internal temperature readings guarantee perfectly baked bread, eliminating guesswork and preventing under- or over-baking. A must for precision in all baking projects.
Flavorful Olive Bread
Equipment
- 1 Large Glass Mixing Bowl
- 1 Wooden Spoon or Silicone Spatula
- 1 Nonstick Baking Sheet (rimmed or rimless)
- 1 Bread Lame or Very Sharp Knife
- 1 Instant-read thermometer
Ingredients
- 3 ¼ cups 430g bread flour, spooned & leveled
- 2 tsp instant or active dry yeast
- 2 tsp coarse salt e.g., sea salt
- 2 tsp dried oregano
- 1 ½ tsp garlic powder
- 1 heaping cup 135g roughly chopped olives
- 1 ½ cups 360ml water, room temperature (~70°F/21°C)
- Optional: cornmeal for dusting baking sheet
Instructions
- Combine Dry Ingredients and Olives: In a large, ungreased glass mixing bowl, whisk together the bread flour, yeast, coarse salt, dried oregano, and garlic powder until evenly distributed. Using a wooden spoon or silicone spatula, gently fold in the chopped olives, ensuring they are well incorporated throughout the dry mixture without crushing them.
- Add Water and Form Dough: Pour the room-temperature water gradually into the flour mixture while stirring gently with your spoon or spatula. The dough will appear dry and shaggy at first; continue mixing and folding until all the flour is moistened and a sticky dough forms. If needed, use your clean hands to bring the dough together into a rough ball—expect the dough to be very sticky and soft.
- First Rise – Room Temperature Fermentation: Cover the bowl tightly with plastic wrap or aluminum foil, ensuring no air can get in, and leave the dough on your kitchen counter at normal room temperature (around 70°F/21°C). Allow the dough to rise undisturbed for 2 to 3 hours, during which it will almost double in size, cling slightly to the bowl’s sides, and develop numerous air bubbles indicating active fermentation.
- Optional Cold Fermentation for Flavor Development: For enhanced flavor and texture, refrigerate the covered dough for at least 12 hours and up to 3 days. This slow fermentation deepens the bread’s aroma and chewiness. The dough may puff and then slightly deflate during this time, which is perfectly normal. When ready to proceed, remove the dough from the fridge and let it come to room temperature before shaping.
- Prepare Baking Surface and Shape Dough: Lightly dust a large nonstick baking sheet with flour and optionally some cornmeal to prevent sticking and add texture to the crust. Turn the dough out onto a well-floured work surface and, using generously floured hands, gently shape it into a round loaf as best as possible—remember, the dough will remain sticky, so don’t over-handle it. Transfer the shaped dough to the prepared baking sheet.
- Final Proofing: Loosely cover the dough on the baking sheet with a clean kitchen towel or plastic wrap and let it rest at room temperature for 45 minutes. During this time, the dough will relax and puff up slightly, readying it for baking. While proofing, preheat your oven to 425°F (218°C) to ensure it’s fully heated by baking time.
- Score the Dough for Expansion: Once proofed, use a very sharp bread lame or knife to score the top of the dough with a shallow slash or an “X” about half an inch deep. Scoring helps control how the bread expands in the oven and creates that classic artisan look. If the dough has flattened, gently reshape it with floured hands before scoring.
- Create Steam for a Crispy Crust (Optional): For a beautifully crisp crust, place a shallow metal or cast-iron pan on the lowest oven rack while preheating. When ready to bake, carefully pour 3 to 4 cups of boiling water into this pan to generate steam, then immediately place the baking sheet with the dough on a rack above and close the oven door quickly to trap the steam inside.
- Bake the Bread: Bake the loaf on the center rack of your preheated oven for 35 to 40 minutes or until the crust is a deep golden brown. To check doneness, gently tap the bottom of the warm loaf—if it sounds hollow, it’s ready. For a more precise test, use an instant-read thermometer; the internal temperature should read 195°F (90°C).
- Cool Before Slicing: Remove the bread from the oven and transfer it to a wire rack. Let it cool completely for at least 10 to 20 minutes to allow the crumb to set properly. Slicing too early can lead to a gummy texture. Store any leftovers loosely covered at room temperature for up to 3 days, or refrigerate for up to 10 days.
Notes
- The dough can be refrigerated for up to 3 days before baking, making this recipe ideal for prepping ahead.
- You can freeze baked bread for up to 3 months; thaw it in the fridge and bring to room temperature before serving.
- For freezing dough, complete steps 1 to 3, wrap tightly, and freeze up to 3 months; thaw overnight in the fridge before shaping and baking.
- If you prefer, bake in a preheated Dutch oven or on a pizza stone for a different crust texture (see detailed tips in the main recipe).
- Use bread flour for best texture, but all-purpose flour works as a substitute without adjustments. Avoid whole wheat for this dough or substitute up to 1 cup.
- Instant yeast works faster, but active dry yeast can be used with a slightly longer rise time.
- Using coarse salt enhances flavor; if only fine salt is available, reduce to 1½ teaspoons.
- Fresh herbs and garlic can replace dried versions for a more vibrant flavor profile.
Chef’s Secrets for Perfect Bread
Achieving the perfect no-knead olive bread lies in patience and understanding your dough.
Allowing the dough to ferment slowly in the refrigerator develops complex flavors and improves texture, so don’t rush this step.
When mixing, use room-temperature water to activate the yeast gently, ensuring consistent rising without overheating or slowing fermentation.
Handling the dough with floured hands helps manage its sticky nature without overworking it, which keeps the crumb light and airy.
Scoring the dough just before baking not only controls expansion but also adds an artisan touch.
For a crust that’s crisp and crackly, introducing steam in the oven by placing boiling water in a hot pan is a game-changer, trapping moisture and helping the bread bake to golden perfection.
Lastly, resist slicing the bread too soon; letting it cool fully allows the crumb to set and prevents a gummy texture.
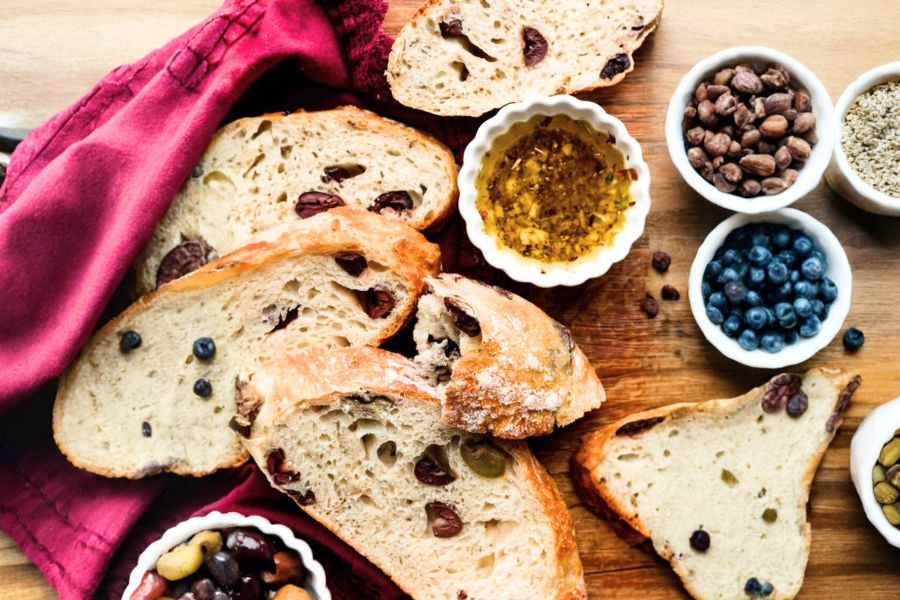
Serving Suggestions to Elevate Bread
This olive bread’s savory and herbaceous profile makes it incredibly versatile.
Serve it warm with a drizzle of good-quality extra virgin olive oil and a sprinkle of flaky sea salt for a simple, elegant starter.
It pairs wonderfully with Mediterranean dishes such as roasted vegetables, hummus, or antipasti platters featuring cheeses, cured meats, and olives.
For a heartier meal, use slices to make gourmet sandwiches with fresh mozzarella, tomato, and basil or layer it with grilled vegetables and spreads.
It’s also excellent toasted for breakfast, topped with smashed avocado or creamy ricotta and a touch of honey.
This bread’s satisfying chew and fragrant olive flavor make it a delightful accompaniment to soups and stews, soaking up broths and enhancing every bite.
Storage Tips for Freshness
To keep your olive bread fresh and flavorful, store it loosely wrapped in a clean kitchen towel or paper bag at room temperature, where it will stay good for up to three days.
Avoid airtight plastic containers as they trap moisture, leading to a soggy crust.
For longer storage, wrap the cooled loaf tightly in plastic wrap and foil, then freeze it for up to three months. When ready to enjoy, thaw it slowly in the refrigerator overnight, then bring it to room temperature or refresh it in a warm oven for a few minutes to restore its crust.
If you freeze dough instead, thaw it fully before shaping and baking. Always slice bread fresh to maintain the best texture and flavor.
Frequently Asked Questions Answered
1. Can I use all-purpose flour instead of bread flour?
Yes, all-purpose flour can be substituted 1:1 in this recipe. While bread flour creates a chewier texture due to its higher protein, all-purpose flour will yield a slightly softer crumb but still delicious bread.
2. What if I only have fine salt, not coarse?
Fine salt is fine to use, but reduce the amount to 1½ teaspoons to avoid over-salting since fine salt is denser and more concentrated in flavor than coarse salt.
3. How do I know when the bread is fully baked?
A hollow sound when tapping the bottom of the loaf or an internal temperature of 195°F (90°C) indicates doneness. Using an instant-read thermometer is the most reliable method.
4. Can I use fresh herbs instead of dried?
Absolutely! Substitute 2-3 teaspoons of chopped fresh oregano or herbs of your choice for the dried version. You can also use minced fresh garlic instead of garlic powder for a more vibrant taste.
5. What are alternatives if I don’t have a nonstick baking sheet?
You can line a regular baking sheet with parchment paper dusted with flour or cornmeal to prevent sticking. Be mindful of your parchment’s heat tolerance, and consider lowering oven temperature slightly if needed.
This recipe has been adapted and simplified from the original version by sallysbakingaddiction. We’ve refined the steps for a smoother cooking experience and added helpful notes, nutrition insights, and essential kitchen tools to make it even easier for home cooks.