
This Baked Sweet Potato Chips recipe stands out for its simplicity, health benefits, and satisfying crunch, making it an ideal snack or side dish.
Using just three ingredients—sweet potatoes, olive oil, and salt—it delivers a wholesome alternative to traditional fried chips.
Sweet potatoes are naturally rich in fiber and packed with vitamin A, supporting digestion and immune health.
The olive oil adds heart-healthy monounsaturated fats while keeping saturated fat low, making this recipe both nourishing and delicious.
It’s also plant-based and gluten-free, fitting a variety of dietary needs.
With a quick prep time and easy baking process, it’s perfect for everyday cooking and meal prepping.
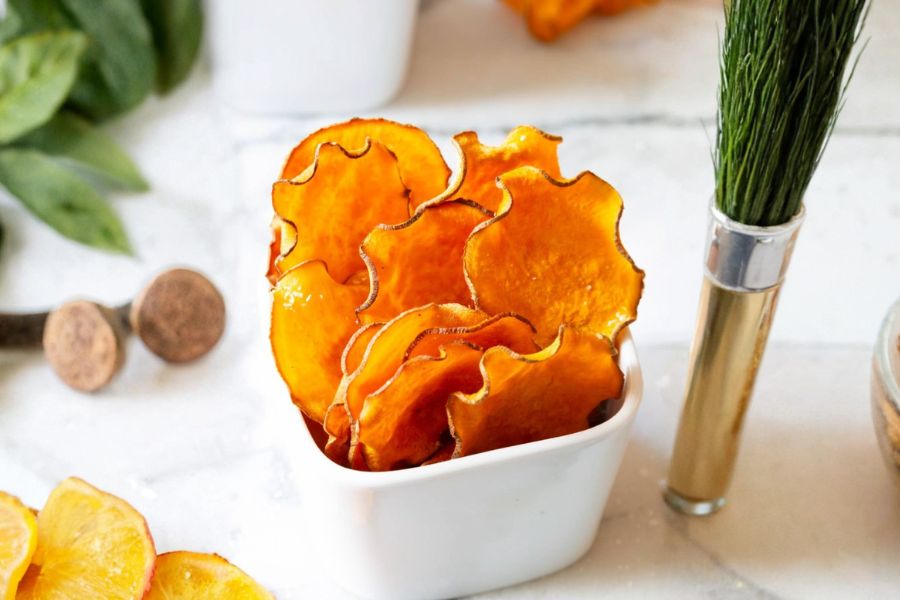
Plus, the thinly sliced chips crisp up beautifully in the oven, providing a guilt-free crunch that satisfies cravings without excess calories or additives.
Must-Have Tools for Perfect Results
Mandoline Slicer
Essential for slicing sweet potatoes into uniform, paper-thin rounds, ensuring even cooking and consistent crispiness. Its versatility extends to slicing vegetables and fruits quickly for salads, gratins, and garnishes.
Baking Sheets
Large, rimmed baking sheets provide ample surface area to spread chips in a single layer, preventing steaming and promoting crisp edges. Ideal for roasting veggies, baking cookies, and sheet pan meals.
Parchment Paper
Creates a non-stick surface that simplifies cleanup and prevents chips from sticking or burning. It’s a kitchen staple for baking, roasting, and steaming.
Mixing Bowl
A sturdy bowl allows even tossing of sweet potato slices with olive oil, ensuring every chip is well-coated. Perfect for mixing salads, batters, and marinating ingredients.
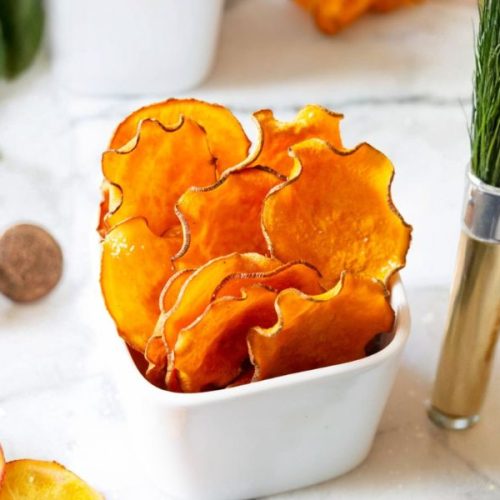
Crunchy Sweet Potato Chips
Equipment
- 1 Mandoline slicer
- 2-3 Baking Sheets
- Parchment Paper (several sheets)
- 1 Large Mixing Bowl
Ingredients
- 1 ½ pounds sweet potatoes washed and dried
- ⅓ cup extra virgin olive oil
- Kosher salt to taste
Instructions
- Prepare the Oven and Baking Surfaces: Preheat your oven to 300°F (150°C). Line two or more large baking sheets with parchment paper to prevent sticking and make cleanup easier.
- Thinly Slice the Sweet Potatoes: Using a mandoline slicer set to its thinnest setting, carefully slice the sweet potatoes into very thin, even rounds. If you don’t have a mandoline, a sharp knife will work, though it will take more time and care to achieve uniform slices.
- Coat the Slices with Olive Oil: Place all the sweet potato slices into a large mixing bowl. Drizzle the olive oil over them and gently toss with your hands or a spatula, ensuring each slice is lightly coated with oil. This step is crucial for crispiness and flavor.
- Arrange the Chips on Baking Sheets: Spread the oiled sweet potato slices in a single, even layer across the prepared baking sheets. Make sure the slices don’t overlap to allow proper airflow and crisping during baking.
- Season and Bake: Sprinkle the sweet potato slices evenly with kosher salt. Place the baking sheets in the preheated oven and bake for approximately 20 to 25 minutes. Around the 20-minute mark, start checking frequently; the chips should be golden and crisp at the edges but not burnt.
- Cool and Finish: Remove the baking sheets from the oven and let the chips cool on the trays for about 5 minutes. The residual heat will continue to crisp them. If you find any slices are still soft in the center, return them to the oven for an additional 5 minutes or until fully crisp.
- Store or Serve: Once cooled, transfer the sweet potato chips to a bowl or an airtight container for storage. Enjoy immediately for the best crunch.
Notes
- Sweet potato chips can go from perfectly crispy to burnt quickly, so keep a close eye during the last few minutes of baking.
- Slicing the potatoes as uniformly thin as possible ensures even cooking and prevents some chips from being underdone while others burn.
- Using kosher salt gives a cleaner, less harsh salt flavor that complements the sweetness of the potatoes.
- For best texture, avoid overcrowding the baking sheets; use multiple sheets if needed.
- These chips make a delicious, healthy snack option that’s great for meal prep or quick munching.
Chef’s Top Tips for Success
Achieving perfectly crispy baked sweet potato chips is all about attention to detail and technique.
First, uniform slicing is key; using a mandoline slicer ensures every chip cooks evenly, preventing some from burning while others remain soggy.
Don’t skip the olive oil—this not only helps the chips brown beautifully but also adds healthy fats that enhance flavor and texture.
When arranging slices on your baking sheets, keep them in a single layer without overlapping to promote even airflow and crisping.
Baking at a moderate temperature around 300°F allows the chips to dry out slowly, reducing the risk of burning.
Finally, keep a close eye on your chips during the last five minutes—sweet potatoes can quickly go from perfectly crisp to burnt.
Letting them cool on the baking sheet is crucial as residual heat continues the crisping process.
Creative Serving Suggestions To Try
These baked sweet potato chips are incredibly versatile and pair beautifully with a range of dips and dishes. For a simple snack, serve them with classic guacamole, hummus, or a tangy Greek yogurt dip infused with herbs and garlic.
They make an excellent side for grilled chicken, fish tacos, or veggie burgers, adding a satisfying crunch and natural sweetness.
You can also sprinkle the chips with spices like smoked paprika, chili powder, or cinnamon sugar before baking for unique flavor twists.
For a party platter, combine them with a cheese board or fresh veggies to add texture and color.
These chips work well as a base for loaded nachos topped with black beans, cheese, and avocado for a fun, healthier twist on a crowd-pleaser.
Best Practices For Storage
To keep your baked sweet potato chips crispy and fresh, proper storage is essential.
Allow the chips to cool completely before placing them in an airtight container or resealable plastic bag to prevent moisture buildup, which can make them soggy.
Store them at room temperature, away from heat and humidity, and avoid refrigeration as this can cause the chips to soften.
If you want to make a larger batch ahead of time, consider storing the cooked chips separately from any dips or toppings.
Re-crisping chips is easy—just pop them back in the oven at 300°F for 3-5 minutes to restore their crunch before serving. Proper storage and reheating will keep these chips enjoyable for up to 3-4 days.
Common Questions About Sweet Potato Chips
1. Can I use regular potatoes instead?
Yes, you can substitute regular potatoes, but baking times and texture will vary. Sweet potatoes tend to crisp up nicely due to their natural sugars and moisture content.
2. How thin should I slice the sweet potatoes?
Aim for paper-thin slices, about 1-2 millimeters thick, for optimal crispiness. Thicker slices will be softer and chewier rather than crispy.
3. Is olive oil the best choice?
Olive oil provides a great balance of healthy fats and flavor, but you can use avocado oil or another high-heat oil if preferred. Avoid butter or coconut oil, which may burn easily.
4. Why do some chips turn out soggy?
Sogginess often results from uneven slicing, overcrowded pans, or insufficient baking time. Ensure slices are thin and spaced out, and bake at the recommended temperature.
5. Can I add seasonings before baking?
Absolutely! Sprinkle your favorite spices or herbs on the slices after tossing with oil but before baking. Popular choices include smoked paprika, garlic powder, cumin, or cinnamon for a sweet twist.
This recipe has been adapted and simplified from the original version by aspicyperspective. We’ve refined the steps for a smoother cooking experience and added helpful notes, nutrition insights, and essential kitchen tools to make it even easier for home cooks.