Prepare the Brown Sugar Cinnamon Cream Base: Begin by combining half of the brown sugar (about ⅓ cup or 80 grams), heavy cream, whole milk, ground cinnamon, and a small pinch of salt in a medium-sized saucepan. Place the pot over medium heat and gently warm the mixture. Stir occasionally using a heat-resistant spoon or spatula to prevent the milk from scorching on the bottom. Heat for approximately 8 to 10 minutes until the mixture becomes hot and steamy but not boiling. You might notice some cinnamon floating on top—that’s perfectly fine and part of the flavor infusion.
Whisk Egg Yolks with Brown Sugar to the Ribbon Stage: While the cream mixture is warming, take four large egg yolks and the remaining half of the brown sugar in a large, heatproof mixing bowl. Using a sturdy whisk, beat the yolks and sugar together vigorously for about one minute. Your goal is to achieve what is called the “ribbon stage,” where the mixture thickens enough to leave visible trails when you lift the whisk. This texture indicates the yolks have aerated sufficiently and will create a silky custard.
Temper the Egg Yolks to Avoid Curdling: Once the cream mixture is hot, it’s time to slowly combine it with the egg yolks without cooking them too quickly. To do this, carefully ladle 1 to 2 tablespoons (15–30 ml) of the warm cream into the yolk mixture, whisking constantly and vigorously to gradually raise the temperature of the yolks. Repeat this process 3 to 4 times, always adding small amounts and whisking until fully incorporated. This gentle warming prevents the eggs from scrambling and ensures a smooth custard.
Cook the Custard Until Thickened: Pour the tempered egg yolk mixture back into the saucepan with the remaining cream mixture. Return the pot to medium heat and cook gently, stirring often with a wooden spoon or silicone spatula to keep the custard moving and prevent sticking. Continue cooking for 5 to 10 minutes, monitoring the temperature closely. The custard is ready when it thickens enough to coat the back of a spoon and reaches about 170°F (75°C). Be careful not to let it boil; boiling can cause the eggs to curdle.
Add Vanilla and Chill the Custard: Remove the custard from heat and pour it back into your heat-safe bowl if you used a different pot. Stir in 1 teaspoon of vanilla bean paste or vanilla extract, which enhances the rich flavors. Cover the bowl tightly with plastic wrap, pressing it directly onto the surface of the custard to prevent a skin from forming. Refrigerate the custard for at least 4 hours or up to one day to allow it to cool thoroughly and develop flavor.
Prepare the Graham Cracker Ripple Mixture: While the custard chills, make the graham cracker ripple. Break the 7 graham cracker sheets into smaller pieces and place them in a food processor. Pulse until they are finely crushed into crumbs. Transfer the crumbs to a bowl and mix in the granulated sugar, salt, and cinnamon evenly. Pour the melted salted butter over the dry mixture and stir or pulse again briefly to coat the crumbs completely. The mixture should hold together slightly when pressed.
Freeze the Graham Cracker Ripple: Line a small baking sheet with parchment paper. Spread the graham cracker mixture evenly over the sheet, aiming for about a ¼-inch (6 mm) thickness. It doesn’t have to cover the entire sheet edge-to-edge, but should be spread thin enough for bite-sized chunks once frozen. Cover the sheet with plastic wrap and place it in the freezer while you prepare the ice cream base.
Churn the Custard into Ice Cream: Ensure your ice cream storage container is chilled by placing it in the freezer beforehand. Pour the fully chilled custard into the bowl of your ice cream maker and churn according to the manufacturer’s instructions. This process typically takes about 20 minutes, during which the custard will transform into thick, creamy ice cream with a smooth texture.
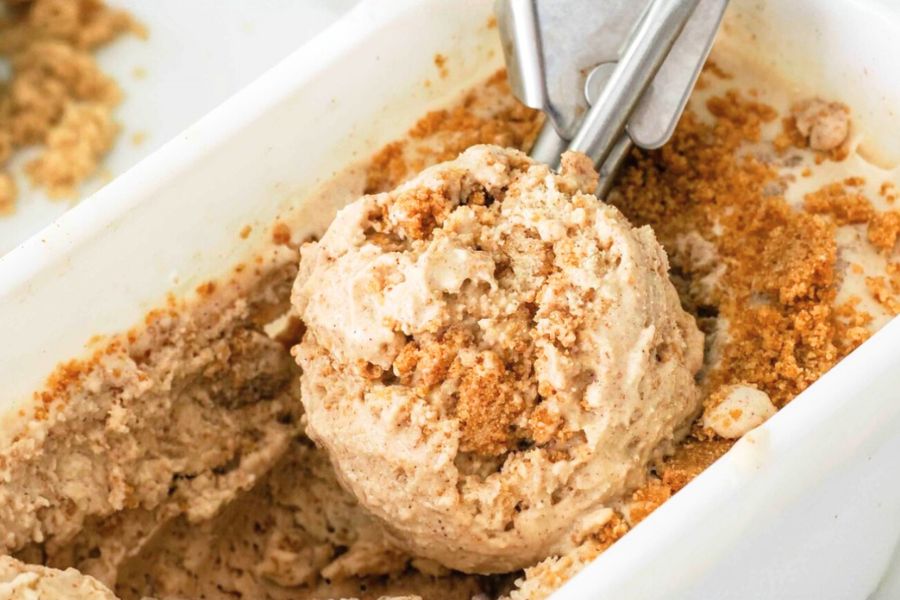
Incorporate the Graham Cracker Ripple: In the final few minutes of churning, remove the graham cracker mixture from the freezer. Using a spatula or clean hands, break it into small, bite-sized pieces. When the ice cream is almost done, layer it in your chilled container: start with about one-third of the ice cream, sprinkle a handful of the graham cracker pieces on top, then add another layer of ice cream followed by more cracker pieces. Repeat until all ice cream and crumbs are used. Use a spoon or butter knife to gently swirl the layers by moving it side to side and up and down the container to distribute the ripple without fully mixing it in.
Freeze Until Firm or Serve Soft Serve Style: For a soft serve experience, enjoy the ice cream immediately after churning. Otherwise, cover the container with a tight-fitting lid or plastic wrap and freeze the ice cream for at least 4 hours. This step firms up the texture, making it perfect for slicing into scoops later. For best taste and texture, consume within one week.