Combine the Ingredients and Knead the Dough: Begin by gathering all your ingredients. In the bowl of a stand mixer fitted with the dough hook attachment, add the all-purpose flour, granulated sugar, instant yeast, salt, warm water, and olive oil. Start mixing on a low speed to gently incorporate the ingredients, allowing the flour to absorb the water and yeast evenly. After about two minutes of slow mixing, increase the speed slightly to medium-low. Continue kneading the dough for about six minutes. You’ll notice the dough transforming into a smooth, elastic ball that pulls away cleanly from the sides of the bowl. This kneading process develops the gluten structure, essential for a tender yet chewy flatbread.
First Rise — Proofing the Dough: Once kneaded, lightly grease your mixing bowl with a small amount of olive oil to prevent sticking. Transfer the dough back into the bowl and turn it gently so the entire surface is coated with oil. Cover the bowl loosely with a clean kitchen towel or plastic wrap. Place the bowl in a warm, draft-free area to allow the dough to rise. This first rise should last approximately 30 minutes, or until the dough has doubled in size. You’ll see the dough puff up and become airy, which is a sign that the yeast is active and the bread will have a light texture.
Portion and Shape the Dough: After the dough has doubled, carefully remove it from the bowl and transfer it onto a lightly floured surface to prevent sticking. Using a bench scraper or knife, divide the dough into 10 equal portions. Take each portion and gently roll it into a smooth, round ball by tucking the edges underneath and rotating it under your palm. Once all the dough balls are shaped, lightly dust them with flour to prevent sticking. Arrange the balls on a rimmed baking sheet or tray, leaving a small gap between each. Cover the dough balls again with a kitchen towel, and allow them to rest and relax for 20 minutes. This resting period makes the dough easier to roll out.
Preheat the Skillet and Prepare for Cooking: While the dough rests, place a cast iron skillet or a heavy non-stick pan over medium heat. Allow the skillet to heat thoroughly; this ensures an even cooking surface that will give the flatbreads a beautiful golden crust. Lightly brush the skillet with olive oil to prevent sticking and to add a subtle richness to the bread.
Roll Out Each Dough Ball; Take one dough ball from the resting tray and place it on a clean, lightly floured work surface. Using a rolling pin, gently press and roll the dough into a thin, even circle approximately 7 to 8 inches in diameter. Avoid using too much flour during rolling to keep the dough soft and pliable. If the dough springs back or resists stretching, let it rest a few more minutes before continuing.
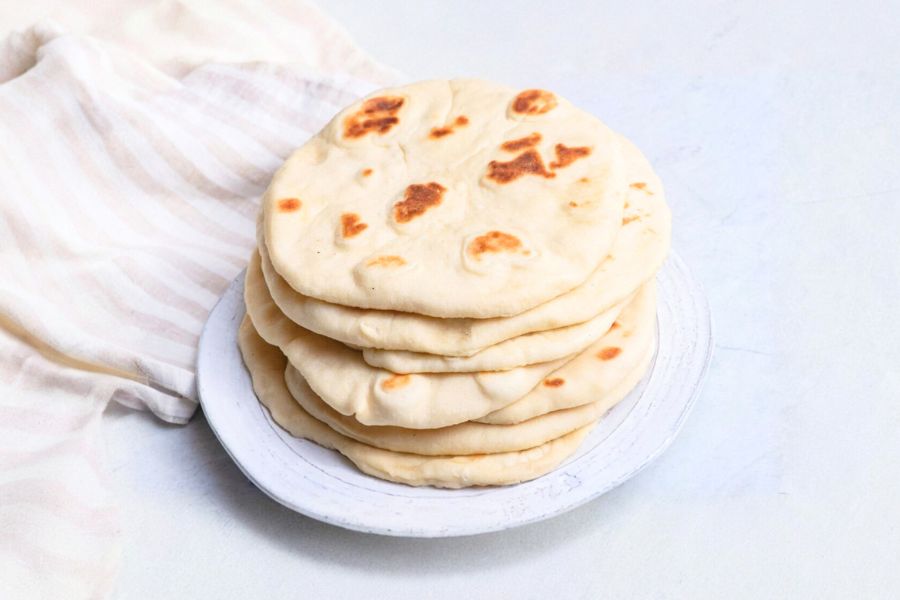
Cook the Flatbread on the Skillet: Carefully transfer the rolled dough circle onto the preheated skillet. Cook the flatbread for about 2 minutes on the first side. You’ll observe bubbles forming on the surface, which indicates the bread is cooking through and developing air pockets for a light texture. Once bubbles cover most of the surface, flip the flatbread using tongs or a spatula. Cook the second side for an additional 2 minutes, or until the underside is golden brown and cooked through. Adjust the heat as needed to avoid burning.
Keep Warm and Repeat: Remove the cooked flatbread from the skillet and place it on a clean plate or tray. Cover it loosely with a kitchen towel to retain warmth and softness. Repeat the rolling and cooking process with the remaining dough balls until all flatbreads are cooked.
Serve and Enjoy: Your homemade flatbreads are now ready to be served! Enjoy them warm with your favorite dips, spreads, or as wraps filled with vegetables, meats, or cheeses. These flatbreads are versatile and make a great accompaniment to many meals or snacks