Prepare Your Oven and Gather Ingredients: Start by preheating your oven to 350°F (177°C). This ensures the oven reaches the ideal temperature while you prepare the crust. Gather all your ingredients and kitchen tools—having everything at hand will make the process smooth and efficient.
Pulse Graham Crackers and Macadamia Nuts: Place the whole graham cracker sheets and roasted salted macadamia nuts into your food processor or chopper. Pulse several times until the mixture breaks down into coarse crumbs. It’s okay if some nut pieces remain slightly larger—they add delightful texture. Avoid over-processing into a fine powder; you want a sandy, crumbly consistency with some chunkiness.
Combine Crust Ingredients: Transfer the crumb mixture into a medium-sized bowl. Add the granulated sugar and stir to distribute evenly. Pour in the melted unsalted butter, and mix thoroughly with a spatula or spoon until all crumbs are moistened and the mixture holds together when pressed. The consistency should be thick and sandy but cohesive enough to form a crust.
Press the Crust into the Pie Dish: Pour the crust mixture into an ungreased 9-inch pie dish. Using your fingers or the bottom of a flat measuring cup, gently press the crumbs firmly and evenly across the bottom and up the sides of the dish. Apply medium pressure—not too light to avoid crumbling, but not so hard that the crust becomes overly compacted. Aim for a rounded corner where the bottom meets the edge, which helps prevent the crust from cracking when slicing.
Pre-Bake the Crust: Place the pie dish on the middle rack of your preheated oven. Bake for 8 minutes, just enough to set and lightly toast the crust. This step prevents sogginess once the filling is added. When the timer goes off, carefully remove the crust from the oven, but leave the oven on for baking the filling next.
Whisk Together Filling Ingredients: In a clean mixing bowl, combine the full-fat sweetened condensed milk, freshly squeezed key lime juice, and large egg yolks. Use a whisk (or an electric mixer on low speed) to beat everything together until fully incorporated and smooth. Add the finely grated key lime zest and give it a final whisk to evenly distribute the bright citrus flavor throughout the filling.
Pour Filling into Warm Crust: Immediately pour the prepared filling mixture into the warm, pre-baked crust. Gently tap the pie dish on the counter a few times to release any air bubbles and help the filling settle evenly.
Bake the Pie to Set the Filling: Return the pie dish to the oven and bake for 18 to 20 minutes. Watch closely—the filling should be mostly set but still have a slight jiggle in the center when gently shaken. This ensures a creamy texture that firms up perfectly after chilling.
Cool Completely at Room Temperature: Remove the pie from the oven and place it on a wire cooling rack. Allow it to cool completely to room temperature—this may take about 1 to 2 hours. Cooling gradually helps prevent cracking and prepares the pie for refrigeration.
Chill the Pie for Optimal Texture: Once cooled, cover the pie loosely with plastic wrap or foil and refrigerate for at least 1 hour, though up to 3 days is fine. Chilling fully firms the filling, allowing clean slices and intensifying the tart key lime flavor.
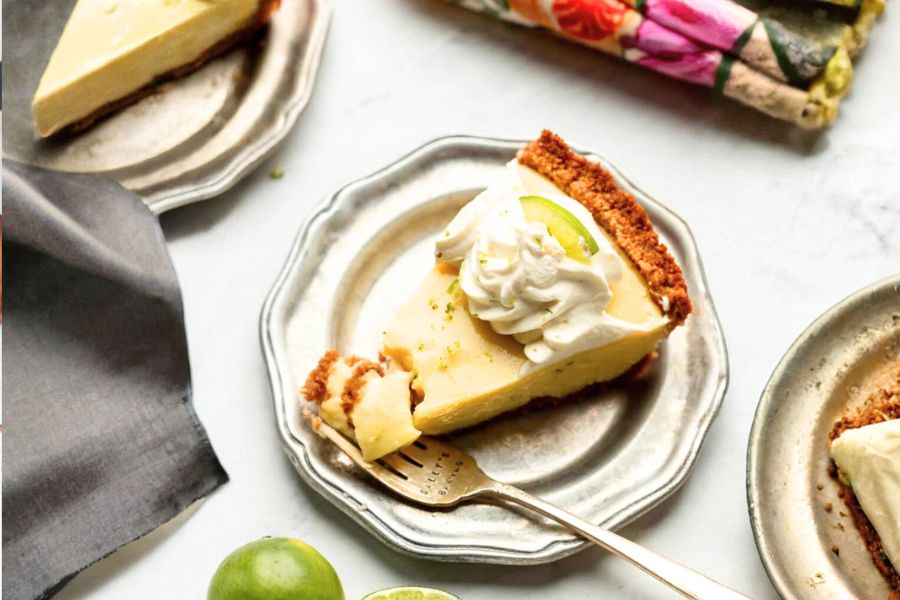
Garnish and Serve: Before serving, decorate the pie with your choice of garnishes: extra lime zest, lime wedges, whole or chopped macadamia nuts, whipped cream, or a fluffy meringue topping. These additions add visual appeal and complementary flavors.
Storage and Leftovers: Store any leftover pie covered in the refrigerator for up to one week. If you want to freeze the pie, wrap it tightly and freeze for up to 3 months. Thaw overnight in the refrigerator before serving.